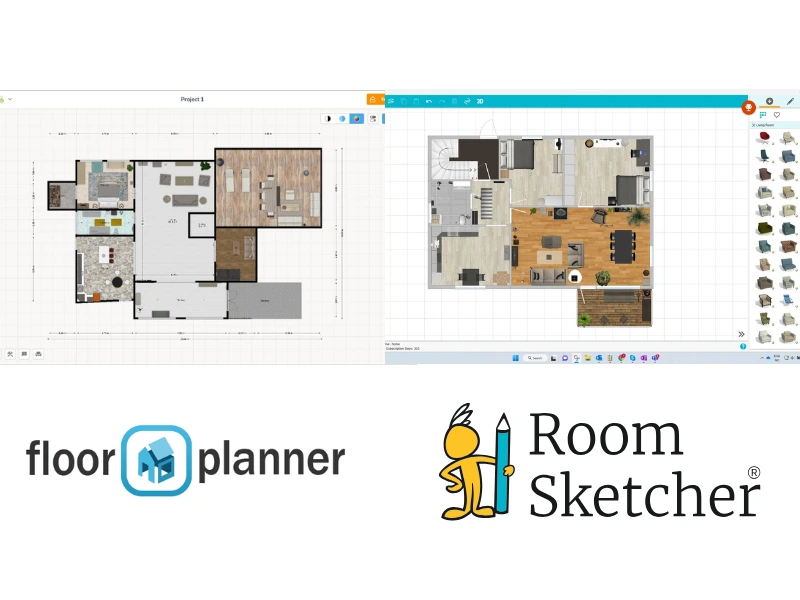
Floorplanner vs. RoomSketcher - Which Tool is Right for You?
Floorplanner and RoomSketcher are two well-known floor plan creator tools used for designing, visualizing, and sharing floor plans. We took a closer look at them to help you decide which tool is the better fit for your needs.

✍️Article Summary:
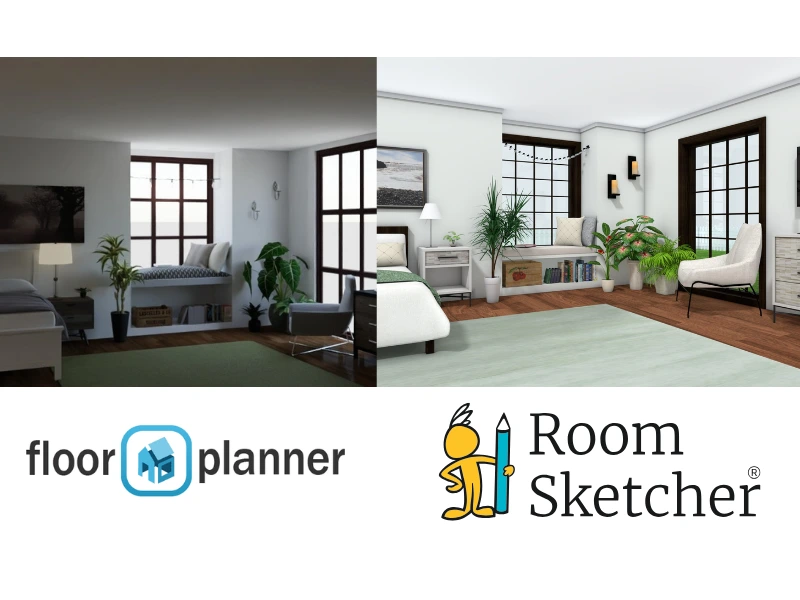
Floorplanner is a browser-based floor plan creation tool known for its large branded furniture library and photorealistic 3D visuals, but its user interface can feel less intuitive when working on detailed projects or smaller devices. RoomSketcher offers a smoother editing experience across desktop and tablet, flexible customization options, and impressive support.
Both Floorplanner and RoomSketcher provide solutions for creating floor plans and visualizing spaces in 2D and 3D. However, they differ in how easy they are to use and in the flexibility of their editing tools.
To better understand these differences, we tested Floorplanner alongside RoomSketcher, focusing on real-world cases, such as project creation, editing, visualization, and sharing.
In the sections below, we break down the key similarities and differences to help you determine which floor plan creator is the better fit for your workflow.
Side-by-Side
| Feature | Floorplanner | RoomSketcher |
|---|---|---|
| Capture Rooms | Yes - iOS LiDAR | Yes - iOS LiDAR |
| Draw Floor Plans | Yes | Yes |
| Order Floor Plans | - | Yes |
| Trace Over an Existing Floor Plan | Yes | Yes |
| Convert an Existing Floor Plan | Yes - Through 3rd party integration | Yes |
| Edit Floor Plans | Yes | Yes |
| 2D Floor Plans | Yes | Yes |
| 3D Floor Plans | Yes | Yes |
| 3D Visualization | Yes | Yes |
| 3D Walkthrough | Yes | Yes |
| Site Plans | Yes | Yes |
| Measurements | Yes | Yes |
| Total Area Calculations | - | Yes |
| Customization of Floor Plans | Yes | Yes |
| Branded Floor Plans | Yes | Yes |
| Customizable Templates | Yes | Yes |
| Cloud Storage | Yes | Yes |
| Furniture Library | Yes | Yes |
| 2D Symbols | Yes | Yes |
| Pricing | Free, Pay-as-you-go, subscription | Free, Pro, Team |
| Customer Support | Email, Help Center FAQs | Chat, Email, Help Center |
| Learning Material | PDF Manual, Tutorials, Webinars | Tutorials, Webinars, 1:1 Training for Business Users |
| Sharing | Links, PFD, JPG, PNG | Project link, walkthroughs, share floor plans and images as PDF, JPG, PNG |
Who Uses Floorplanner and Who Uses RoomSketcher?
Floorplanner
- Personal users
- Furniture retailers
- Education
- Interior designers
- Real estate professionals
RoomSketcher
- Remodelers
- Home builders
- Interior designers
- Real estate professionals
- Anyone looking for professional-quality results with less hassle
How They Work
Both Floorplanner and RoomSketcher are powerful floor plan creator tools, with slightly different approaches to workflows, editing, and outputs.
To start a project, both tools let you draw from scratch, start from a template, import a plan to trace over, or capture a room or layout with a LiDAR-enabled iOS device.
RoomSketcher goes further with two additional options:
- AI Convert, which instantly transforms a blueprint or floor plan into a RoomSketcher project
- A redraw service that lets you submit a sketch to be professionally drawn for you
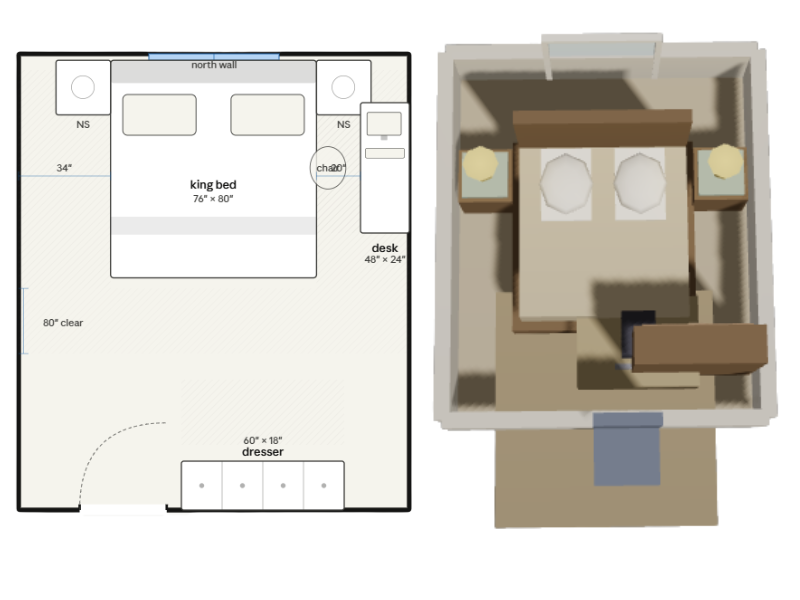
Editing is another area where differences are noticeable. RoomSketcher has clearly invested in creating an easy-to-use, responsive editor. It uses a 2D editing environment with the option to view 3D simultaneously.
This makes it easy to work precisely in 2D while instantly seeing results in 3D. Drag-and-drop tools let you draw walls, add materials, and place furniture items. Object controls appear as soon as you place an item, allowing you to quickly move, resize, or customize it. Features like "best fit", which automatically resize objects, are especially helpful in kitchens and other tight layouts.
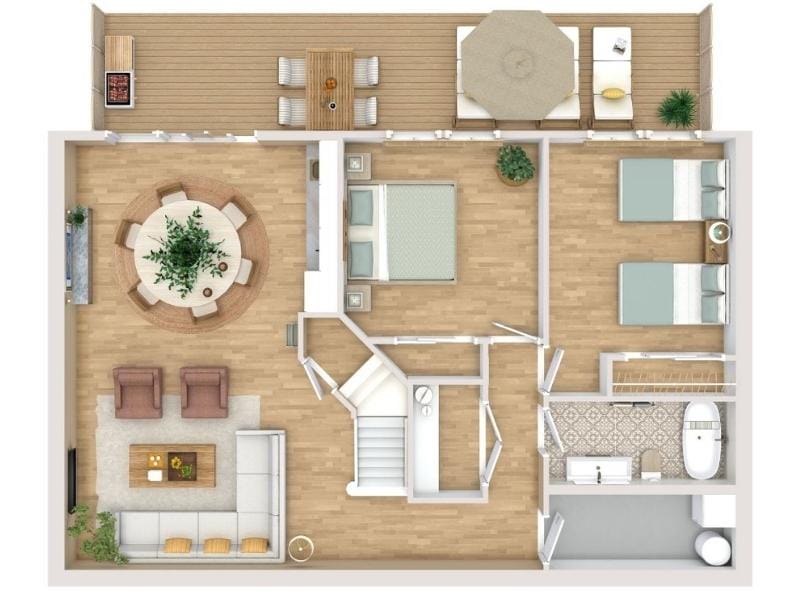
Floorplanner also uses drag-and-drop editing and offers a larger furniture library, which we'll cover later. While it's easy to get started and create a simple layout quickly, users often find that as projects become more detailed, editing can become tedious.
Object controls aren't immediately visible, making it more time-consuming to size and fine-tune elements. There's no best-fit feature. Switching between 2D and 3D modes can slow things down compared to RoomSketcher's side-by-side workflow.
Both tools offer strong outputs, including 2D and 3D floor plans, 3D photos, and walkthrough-style experiences. Floorplanner's 3D images can be more photorealistic; however, to achieve this, it requires more setup options, while RoomSketcher focuses on a streamlined, easy-to-use workflow for quickly creating polished, professional visuals.
💻Platform Availability:
Floorplanner:
- Browser-based tool for drawing and editing floor plans
- Floorscanner app for capturing layouts using iOS LiDAR
RoomSketcher:
- RoomSketcher app for desktops and tablets
- FloorCapture app for capturing layouts using iOS LiDAR
Order Floor Plans
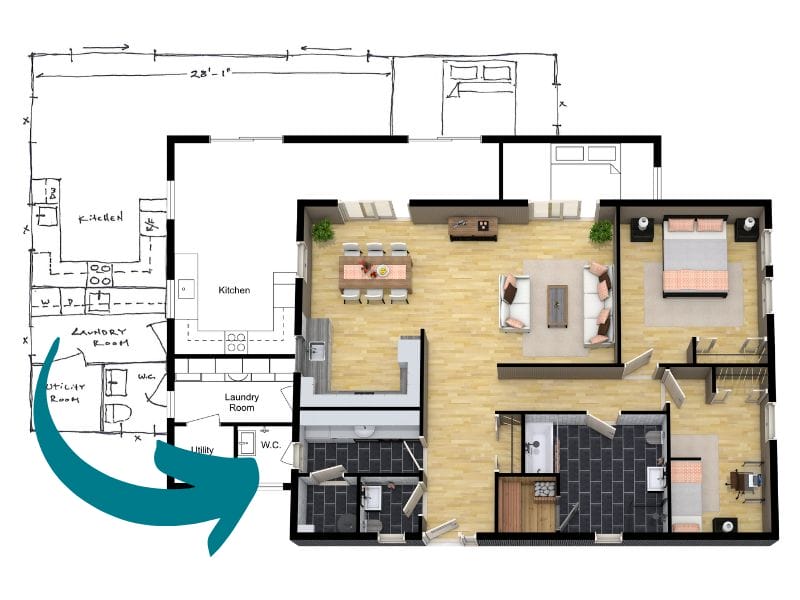
One standout feature for RoomSketcher is its redraw service.
You can submit a sketch or blueprint and receive professional-quality 2D and 3D floor plans, plus a fully editable project, typically by the next business day. This is especially useful for real estate professionals or designers who want to save time and focus on higher-value work.
Floorplanner does not offer a comparable redraw service.
2D and 3D Floor Plans Customization
Both tools offer comparable floor plan styling options, including color-coded rooms, black-and-white views, floor material display, wall colors, and the ability to show or hide room names and dimensions. Both also support branded floor plans with logos and custom color schemes.
Measurements and Total Area
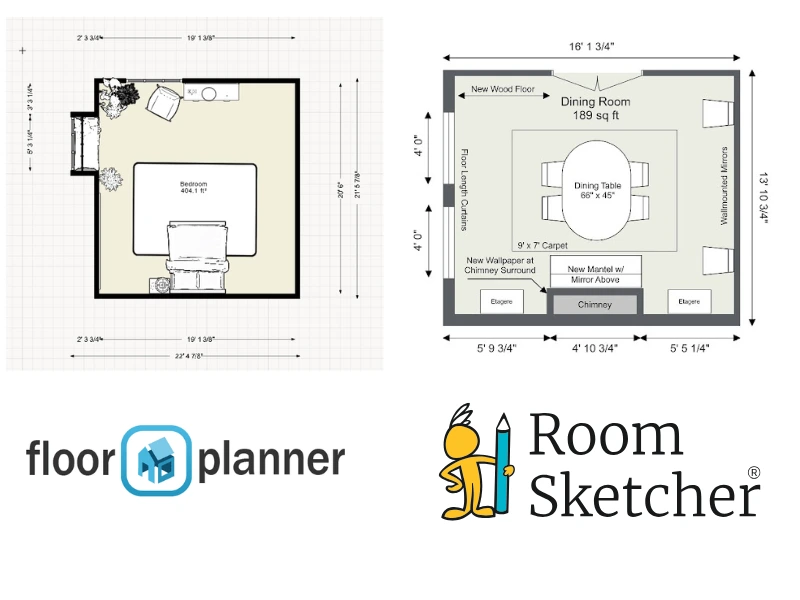
Both tools provide basic measurements, such as wall lengths, room dimensions, and square footage.
RoomSketcher goes a step further with a powerful Total Area Calculator, allow you to calculate Gross Living Area (GLA), Total Living Area (TLA), and more. The Measurement Wizard also makes it easy to add precise dimensions throughout your plan.
Furniture Library and Customization

Floorplanner offers a larger furniture library, including branded items, which can be appealing when visualizing specific products. However, this comes with some downsides: the items are fixed in the sizes and colors available commercially, so flexibility is limited. Also, depending on which country you reside in, many of the brands may not be available.
Where RoomSketcher pulls ahead is in the level of customization you can apply to individual furniture items and accessories. Most furniture can be resized freely by dragging, entering exact dimensions, or using the "best fit" option. The Replace Materials feature lets you adjust colors and finishes on most items. This makes it easier to create custom designs. RoomSketcher also includes building blocks for creating custom elements, such as partial walls, lofts, or built-in features.
Floorplanner's Magic Layout feature can automatically furnish a room based on a Styleboard, or a collection of furniture from a particular brand. While this can save time, we found that results often required manual adjustments, particularly for accuracy, product selection, and furniture placement.
3D Photos
Floorplanner offers manual control over lighting and background scenes, as well as higher resolutions, resulting in highly photorealistic images. However, this can also mean more setup time. Floorplanner recently launched AI Enhanced Photos, which means paid users can transform exports by changing styles, adding/removing objects, and modifying materials using AI.
RoomSketcher takes a more streamlined approach. With easy point-and-click controls, you can quickly generate 3D snapshots and convert them into high-quality 3D Photos. Lighting and shadows are handled automatically, making the process faster and more intuitive.
Pricing also differs. Floorplanner charges based on download resolution, while RoomSketcher charges per render, after which you can download images in multiple sizes at no extra cost.
Live 3D and Virtual Tours
RoomSketcher offers multiple viewing modes, including Flyover and Camera view, and supports a side-by-side 2D/3D workflow. This makes it easier to understand positioning and make precise adjustments. The 3D viewer includes on-screen navigation controls.
Floorplanner also supports 3D navigation and editing, but we found navigation less intuitive. Navigation uses keyboard control and mouse clicks.
RoomSketcher also offers high-resolution 360 Views, a feature that lets users experience standing and turning in a room, while Floorplanner offers a 3D tour feature, allowing users to jump to camera locations you've chosen within the floor plan and turn around.
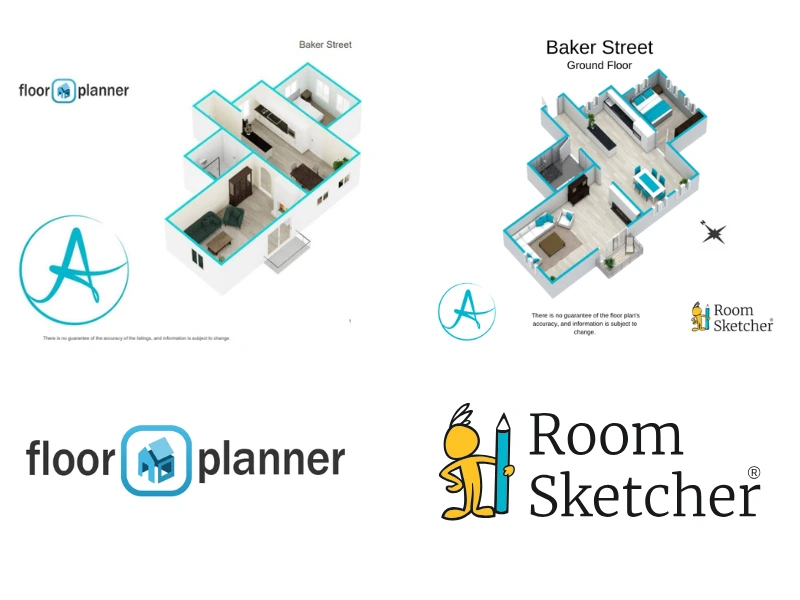
Collaboration and Project Sharing
Floorplanner allows you to share projects via links, making it easy for others to view or collaborate directly in a browser. Floorplanner also supports exporting floor plans and images to common formats like JPG, PNG, and PDF. You can also export to SVG and DXF formats.
RoomSketcher also supports exporting to common formats like JPG, PNG, and PDF, as well as something called Project Presentations. Every project can be shared via a single link that displays a polished, interactive presentation, including any generated 2D and 3D floor plans, Live 3D, 3D Photos, and furniture details.
This makes it easy to share work with clients or colleagues without having to export large files. If collaborators use RoomSketcher, they can open and edit a shared copy of the project.
Help, Customer Support, and Training
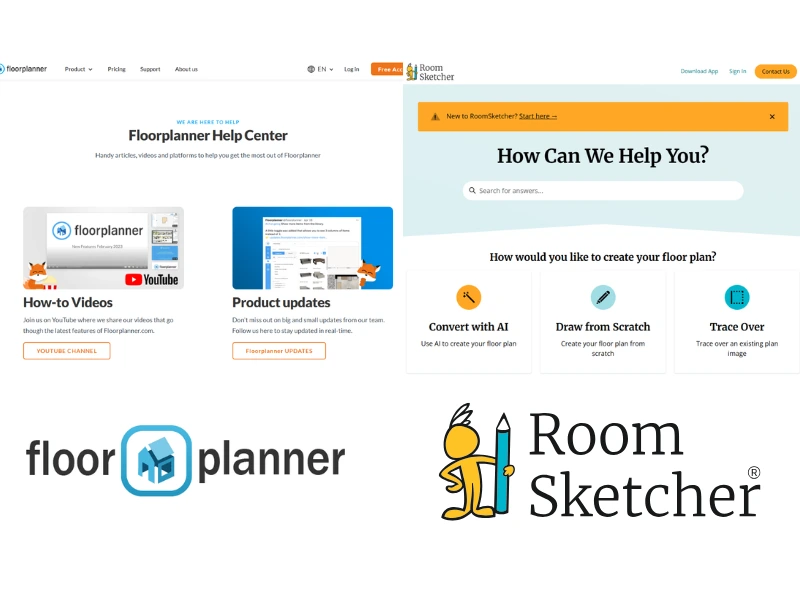
Floorplanner offers a downloadable PDF manual to help learn the basics, along with webinars and email support. However, the manual appears less frequently updated, and we didn't find guidance on newer features. The Help Center is relatively minimal. Video content is also limited, with much of it focused on longer training sessions rather than short, topic-specific tutorials that are easier to search and follow.
Help and support are areas where RoomSketcher stands out, particularly in terms of structure, accessibility, and the timeliness of its resources.
RoomSketcher provides a more structured and regularly updated learning experience. Its Help Center is organized by feature, making it quick to find relevant guidance. In addition, RoomSketcher offers a library of short, focused video tutorials covering specific tasks, as well as webinars and getting-started sessions.
RoomSketcher offers options such as email and chat assistance, as well as 1:1 training for business users. This combination of self-serve learning and direct support simplifies the process for users to get help at the point they need it, without having to search through long or outdated materials.
Which Tool Is Right for You?
After testing and comparing both tools, we've found that your choice of floor plan creator depends less on features alone and more on how you prefer to work.
Floorplanner is a strong choice if you value a large, branded furniture library, highly photorealistic rendering options, or a styleboard-driven design approach, and you don't mind investing some time learning the nuances of its editing and navigation tools.
RoomSketcher stands out for users who want a more responsive, intuitive workflow, from capturing and editing to producing highly customized, professional outputs. Its strength lies in its editing experience, flexible design tools, and streamlined path from concept to finished floor plan.
Why People Prefer RoomSketcher
- Intuitive and easy-to-use
- Capture, Convert, Draw, Trace, or Order Floor Plans
- Unmatched 2D and 3D Floor Plan customization
- Friendly customer support
- Flexible pay-as-you-go pricing
Ready to try it yourself? Create a free RoomSketcher account today and explore the features. Upgrade anytime to unlock 2D and 3D Floor Plans, 3D Photos, 360 Views, and Live 3D.
With a 30-day money-back guarantee, you can get started risk-free.
Recommended Reads
Best Floor Plan Creators of 2026
Do you not know which floor plan creator to choose for your next project? Don't worry, we've tested the best floor plan creators right now to give you a complete list with pros and cons.
The 9 Best Floor Plan Software Tools for Interior Designers
Looking for that perfect software for your interior design projects? Look no further! We've gathered a top 9 list for you. Using a floor plan software is the best way to showcase an interior design project.
Can Claude Create Floor Plans? We Tested It
Claude can generate floor plan–like layouts from prompts, but the results quickly break down. We tested apartments, room layouts, sketch conversion, and 2D-to-3D workflows to see how well it handles real floor plan work.