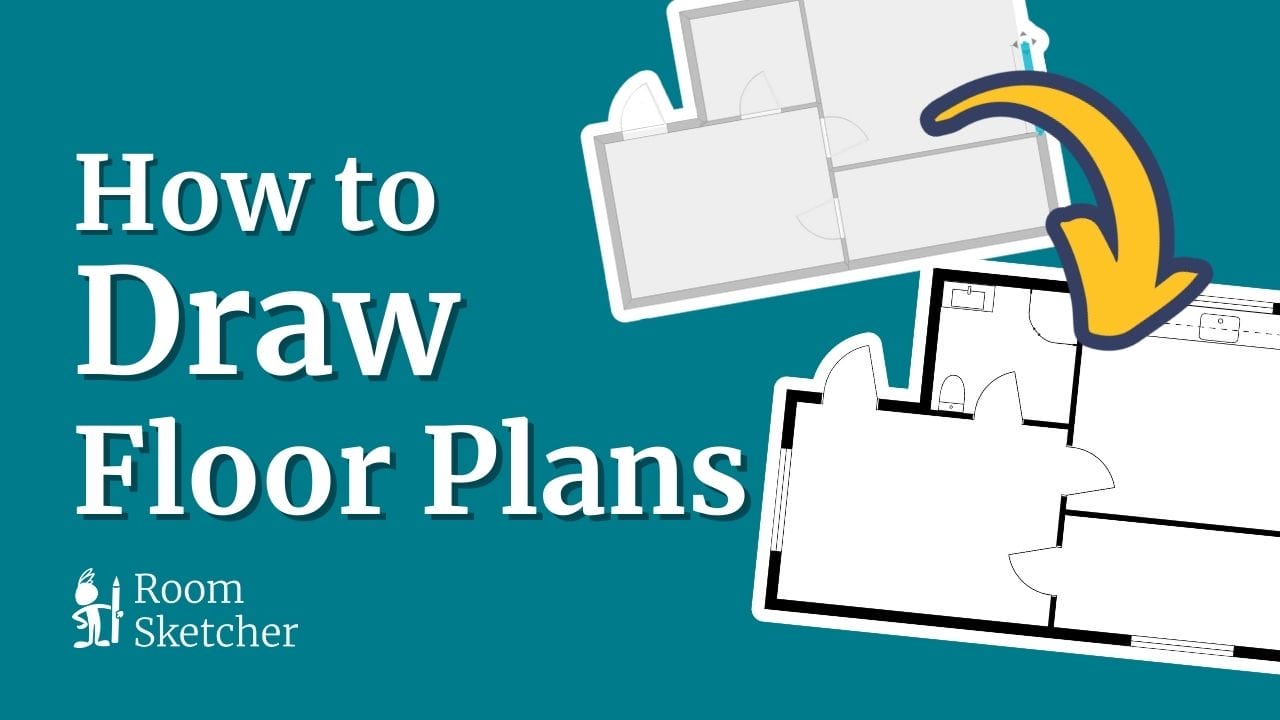
How to Draw Floor Plans Video Tutorial

Video Transcript
Intro and Download the RoomSketcher App
0:01 In this video, I’ll show you how to draw and print a floor plan using the RoomSketcher App. The app works on iPads and Android tablets, and Mac and Windows computers. So, if you’re currently on a tablet or computer, just open the RoomSketcher website and click the Download App button.
0:21 On Windows, double-click the setup.exe file you’ll find here and follow the steps. On a Mac, drag the RoomSketcher icon onto the Applications folder. Once you run the install, you’ll have a RoomSketcher icon on your desktop or tablet. Use the icon each time you want to start RoomSketcher!
Get Started – Draw Your First Floor Plan
0:42 Ok, let’s draw our first floor plan. To create a project, click New Project and then Blank Project. This is the Mode button, where you choose which mode or layer of the project to work on. Start with Walls to draw the walls of the floor plan.
1:01 Then, in Windows, etc., you add windows, doors, and stairs. In Materials, you have paint and flooring, and in Furniture, you have everything from sofas to kitchen cabinets.
1:13 We’ll start in Walls mode. I’ll choose Exterior Walls, then click once where the wall starts, and click at each corner. Make sure your wall connects to finish it.
1:24 Now, let's draw Interior Walls. Move the cursor, click to start, click to turn, and click to end it. Then draw your next wall. Use the Select arrow to choose or move a wall. With a wall selected, click here to delete it.
1:45 To add windows, doors, and stairs, click Windows, etc. mode. Open Windows, choose a window, and then click to place it on a wall. To add a door, click the Add tab, close Windows, and open Doors. Choose a door and click to place it.
Add Finishing Touches
2:07 Next, we’ll add floor and wall coverings. Open Materials and select Tiles. Choose your tile, and click to place it in the room.
2:19 Now, let’s add Furniture. I’ll search for a specific item — a sofa. Click to select it, click to place it, and then drag it into place. You can easily resize it, rotate it, or delete it.
2:35 Now, complete your project with furniture and accessories. Here’s mine!
Generate Floor Plans
2:40 To generate floor plans, first Save your project and then click Menu and either 2D or 3D Floor Plans. Depending on the subscription you have, you may see the purchase options here, like this. Or you may see that 2D Floor Plans are free to generate, and you can Preview the floor plan first.
3:02 Then, click Generate. To see if the floor plan is ready, click here. And it is! Now 2D Floor Plans take seconds to generate, while 3D Floor Plans can take up to 15 minutes.
Download and Print Floor Plans
3:16 Just click here to download a floor plan to your device, and click here to print it.