How to Order Floor Plans Video Tutorial

Video Transcript
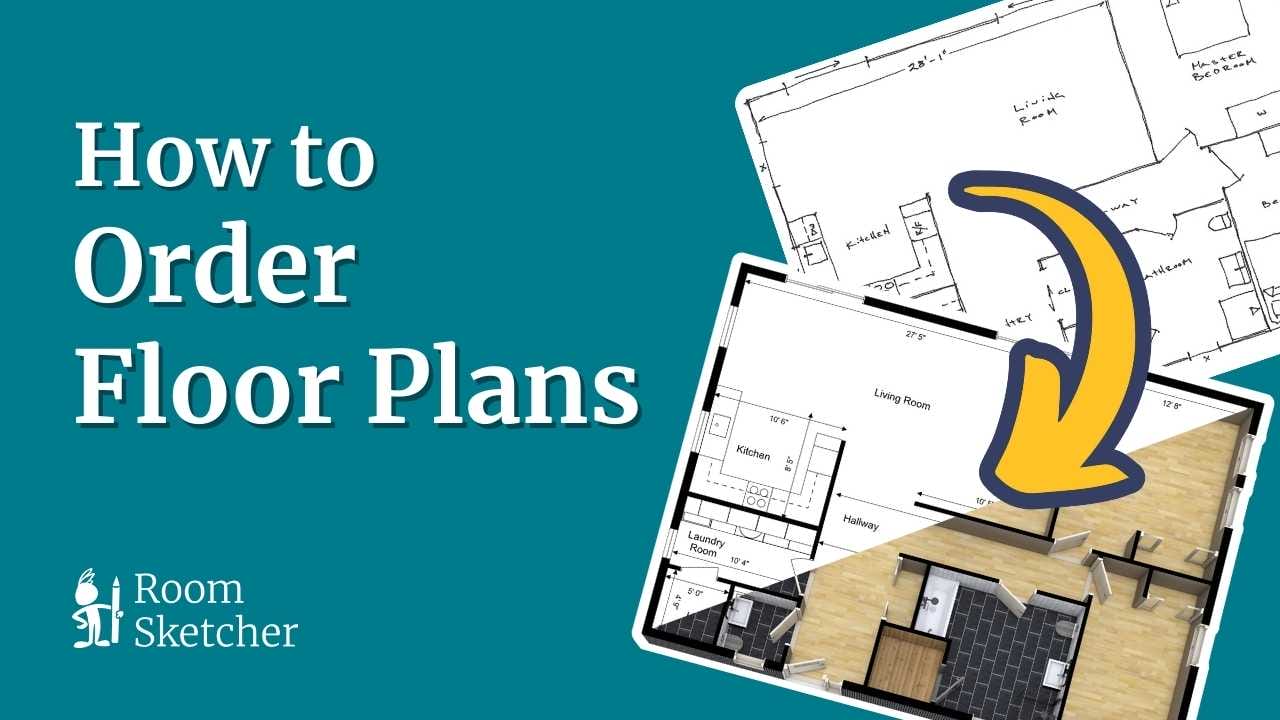
0:00 Want us to draw for you? Just provide a blueprint or sketch, and we’ll create professional 2D and 3D Floor Plans that you can download and print, and a complete RoomSketcher project.
0:15 You can easily edit your floor plans in the RoomSketcher App. Plus, experience them in interactive Live 3D, from above or right inside.
0:26 To place an order, just head over to the RoomSketcher website on a computer, tablet, or phone, and click Sign in.
0:35 To start the order, click New Project and then Order Floor Plans. And follow the steps. Add your Project Name. Specify the number of levels or floors.
0:48 And choose your furnishing. Where "Furnish as Indicated" means you would like to include the furniture you have on your sketch or blueprint
0:56 "Fully Furnished" means that the illustrators furnish the project using typical furniture for the room types on the blueprint.
1:04 And for "Unfurnished", you will get doors, windows, stairs, plus fixed installations like kitchen and bathroom fixtures when they are indicated on the blueprint.
1:14 Check Outside Measurements if you would like measurements on the outside of your 2D Floor Plans.
1:20 Then, click Next. This is where you upload your blueprints. Each floor or level needs its own blueprint.
1:29 Make sure there is at least one measurement on each blueprint to get the scale right. You can type a level name here.
1:37 And if you are uploading a multi-page PDF, type the page number for the blueprint.
1:42 Then click Upload Blueprint. Locate the blueprint and click Open. When you see your blueprint, click Next.
1:51 Here’s your Order Summary. You can review it, then click Place Order.
1:58 You’ll receive an email when the order is complete. All completed projects can be found in your Projects list in your Web Account, and in the RoomSketcher App.
2:08 Just Click Menu > Open, and here they are. It’s easy to edit your floor plan in the App if you want to make changes.
2:18Choose your project. Make any changes you want. I’ll switch to Walls mode and change this room name from "bedroom" to "office."
2:30 When you’ve made all your changes, click Save, and in the Menu, choose 2D or 3D Floor Plans, and then Generate to update the floor plans. It’s that easy!
2:44 For more videos and tutorials, go to RoomSketcher.com.