Draw Your Floor Plan in 2D & 3D
This step-by-step tutorial shows you how to create your first floor plan with RoomSketcher.
Learn How to Easily Create Professional Quality Floor Plans
Follow this guide to draw your first floor plan. Before you start:
- Choose an area or building to draw
- Take measurements
Watch the video to learn how to draw or follow the instructions below.

Step 1: Download the RoomSketcher app
Download the app to your Windows or Mac computer, or use it on your iPad or Android tablet.
- Works offline
- Cross-device syncing
- Save and edit projects anytime

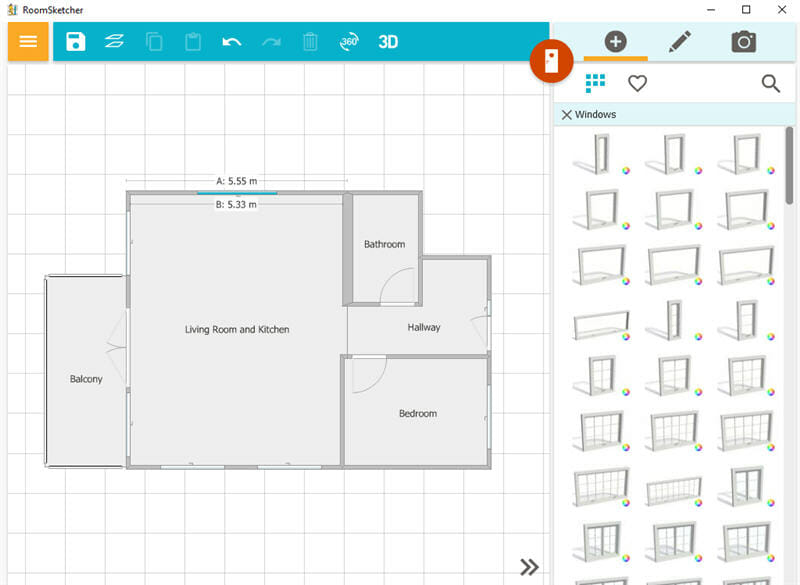
Step 2: Create a Project And Start Drawing
Open the app and click Create New Project to start from scratch or select a template if you have a common layout type. Then, use the simple drag-and-drop tools to draw walls and define your layout. Add doors, windows, and other fixed installations.
- You can click and drag walls to reshape them at any time
- Use the measurement on the walls to keep things precise. You can also type in the exact wall length
- Drag your windows and doors onto the walls and see them snap into place. Adjust the size and flip them as you see fit
Step 3: Add Furnishing And Decorate
Customize with a wide range of fixtures, furniture, and materials. Click the Furniture tab and browse by room type or search for a specific item. Drag and drop furniture onto the canvas to place it.
- Easily resize, rotate, and duplicate furniture items
- Use core furniture that looks good in 2D & 3D every time
- Look up and use branded furniture


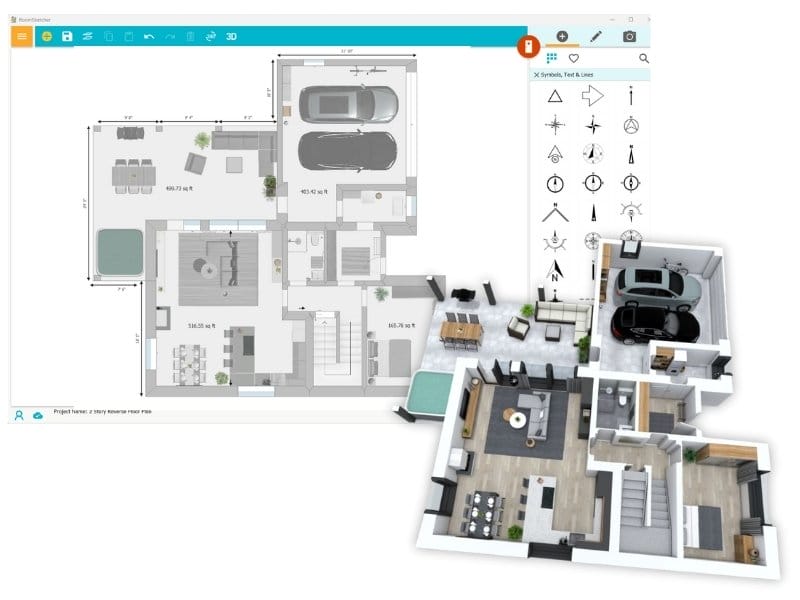
Step 4: Generate Floor Plans
Once you're finished with your layout, generate high-quality floor plans. This feature requires an in-app purchase or a paid subscription.
In your project:
- Open the menu and choose 2D Floor Plans or 3D Floor Plans
- Click on Generate 2D Floor Plan or Generate 3D Floor Plan
- Tip: Click on Preview before generating to see what the plans will look like
Step 5: Download And Print
Once your floor plan is generated, you can download and print it.
- Go to 2D Floor Plan or 3D Floor Plan from the menu
- Click Print to print a letterhead or web image
- Click Save to Disk to download your plan as a JPG, PNG, or PDF

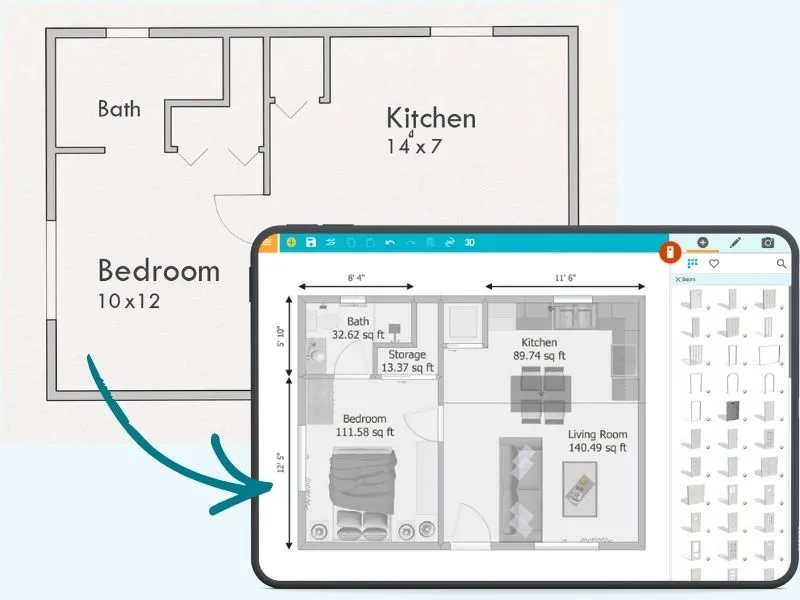
Already Have a Floor Plan?
You can digitize your existing plan in RoomSketcher and then edit, update, and reuse it as needed.
Choose the option that fits what you have:
- AI Convert
Upload a floor plan image and let AI Convert turn it into an editable floor plan you can adjust in RoomSketcher. - Trace Over a Floor Plan
Import your drawing, sketch, or blueprint and trace over it. - Order Floor Plans
Send us your floor plan and get an editable floor plan created for you by our illustrators.
Free to Start, Easy to Scale
You can draw complete floor plans, furnish, and take 3D Snapshots at no cost. As your needs grow, upgrade to:
- Generate, download, and print high-quality floor plans
- Order floor plans at a discount
- Get an expanded furniture library and use Replace Materials
- Use advanced measurements and total area
- Take 3D Photos, 360 Views, and use Live 3D
Start From a Template
RoomSketcher offers a wide range of ready-to-edit floor plan templates to help you get started faster. Choose from popular layouts for homes, offices, kitchens, and more.


Frequently Asked Questions (FAQ)
The cost to get a floor plan drawn depends on the service you choose.
If you send us a sketch or blueprint, we can turn it into a digital floor plan for you. Prices start at $20–$38 per floor, and your plan will be ready the next business day. This is the quickest and most affordable option.
Hiring an architect costs much more, usually between $1,500 and $9,000. This service is best for big or complex projects and takes longer.
A draftsman can create a floor plan for $800–$2,500. This is less expensive than an architect but still more than most digital services.
No, you do not need an architect to draw floor plans. While architects are great for complex or custom projects, you can create professional floor plans yourself using software like RoomSketcher. Even without any prior experience.
RoomSketcher lets you draw your own floor plans from scratch, import blueprints to trace over, or order a professional-quality plan made from your sketch. Our platform is designed to be intuitive, so anyone can get started quickly and make changes as needed.
You do not need any prior experience or CAD training to draw floor plans with RoomSketcher. Our app is designed for everyone, from beginners to professionals.
We offer plenty of support to help you get started. Our online resources include weekly webinars, 1:1 training for business users, and access to a large, regularly updated help center. If you ever need assistance, our friendly human support team is always ready to help.
Explore Our Blog

How to Design a House: From Sketch to Reality
We give you useful steps on how to design a house yourself. Discover the key steps to designing a house that perfectly fits your needs.

10 Ways to Find the Floor Plan of a House
Access to floor plans is essential for homeowners, real estate agents, and prospective buyers alike. If you’re struggling to find the original blueprints for a home, don’t worry—there are several effective strategies to help you locate them.
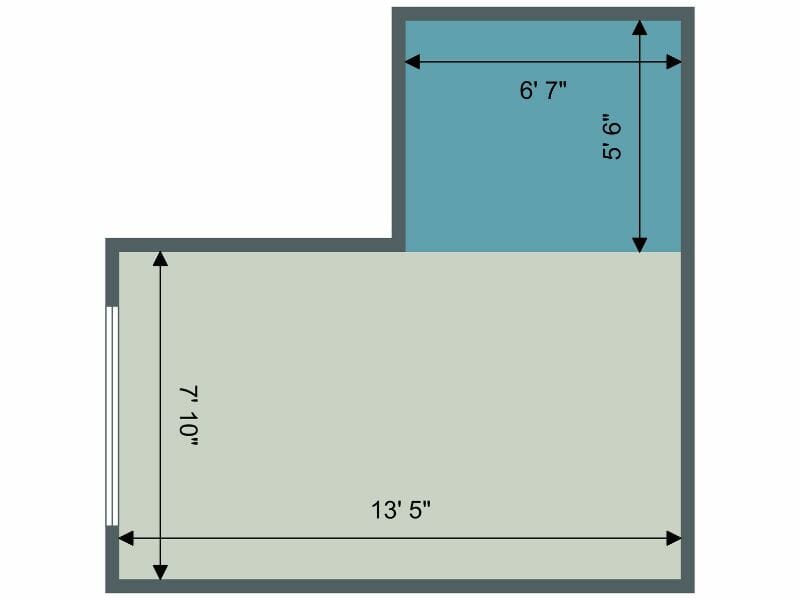
How to Measure Floor Area and Calculate Square Footage
Measure floor areas easily, quickly, and accurately. The correct results are essential for ordering materials for renovation projects, preparing sales and marketing materials for a property, and designing the furniture layout.