Kids Bedroom Design With RoomSketcher
Recently we decided to move our two boys, ages 9 and 11, out of their shared bedroom and into their own rooms. RoomSketcher ended up being a key part of the whole process!


Quick Summary
This is a real example of using RoomSketcher to design kids’ bedrooms ahead of a move. The process: measure each room and draw it, build furniture layouts (the kids tried their own), compare design options, test rug sizes and curtain colors before buying, and print 2D floor plans for the movers. The result was a smoother, faster move — about an hour quicker than expected.
To create a kids' bedroom design we used a paid RoomSketcher subscription for:
- The furniture layout. Each of my boys actually used RoomSketcher themselves to try out different layouts of their existing furniture. They found it easy and really fun!
- Sizing and color for new items. I was able to experiment with rug sizes and curtain colors to help me decide what I needed to purchase for each room.
- The actual move. I printed 2D floor plan/furniture layouts to give to each mover. They were amazed and pleased and the moving job took an hour less than expected (saving me money!)
Here’s a RoomSketcher 3D Photo of the bedroom design and one of the actual new bedrooms:

Follow along as I share the many ways RoomSketcher helped me and could help you too!
Create a Furniture Layout
I started by measuring the rooms that the kids would move into, then I quickly drew up the walls and added the windows and doors using the RoomSketcher App.
I found furniture that was similar to ours in RoomSketcher and dragged it into the drawing pane. I then clicked each item and used Properties to add the actual sizes of my kid’s furniture. I showed my kids how to drag furniture into a room and off they went!
It was cool that we even found musical instruments in RoomSketcher (one of my boys is a cello player) and sports equipment (for my avid sportsman).
Make Various Room Designs
We found it handy to use the RoomSketcher Level (or Floor) feature. Once we had one furniture layout, we used New Level to create a copy of it and we were able to create several furniture placement options and easily look at each one.

Which Size Rug? What Color Curtain?
Now it was my turn to have fun. I dragged several rugs into the drawing pane and used Properties to create various standard-size rugs. Then I could try out the placement and size in the room. I also dragged in various color curtains to see how they look using Snapshots and then 3D Photos. Then it was off to the store for me!
Printing a Layout for the Movers
Once we had a design for each room, I created a 2D floor plan for each. Simply click the Floor Plans button in the top-right menu. Then generate and print a 2D Floor Plan. Premium 2D Floor Plans are included with a paid RoomSketcher subscription.

My boys enjoyed being part of the process and I was happy that the whole move went so smoothly.
How can I design a kids’ bedroom online?
Can kids help design their own bedroom?
How do I try different furniture layouts for a room?
How do I choose the right rug size and curtain color?
How can a floor plan help with moving day?
Recommended Reads
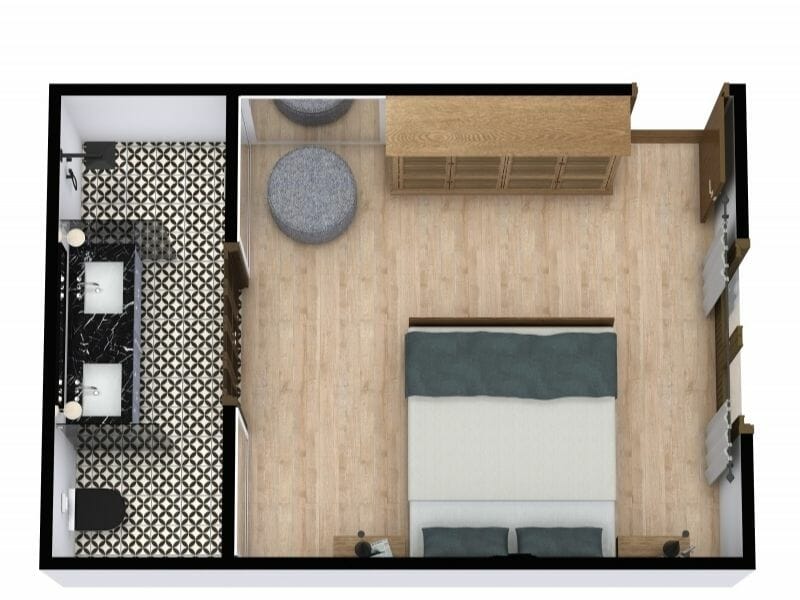
How to Design a Bedroom Layout: 8 Tips to Consider
Designing the best bedroom layout can be a bit of a puzzle and a bunch of fun if you know the right questions to ask.
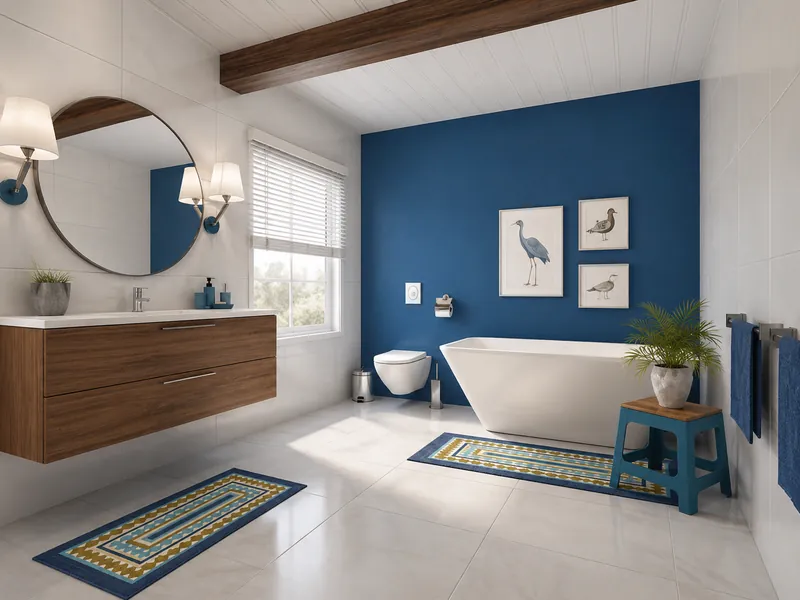
12 Beautiful Rooms with Blue Accent Walls
A blue accent wall can represent the sea, sky, freedom, and tranquility. Accent walls naturally draw attention and are used to emphasize a focal point of a room. Check out these blue accent wall ideas for inspiration.
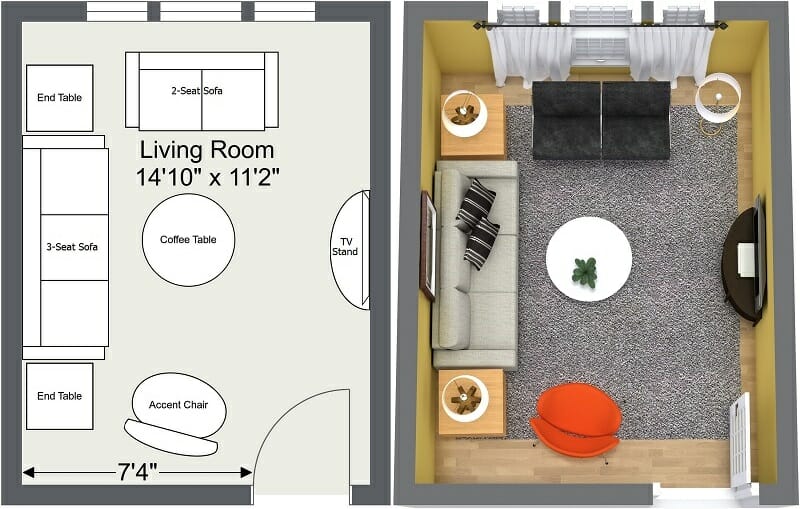
6 Simple Steps to Achieve the Best Furniture Layout
Today, we’ll discuss some ideas for creating the best possible furniture layout and how you can try out your furniture placement ideas without the heavy lifting!