How to Add Measurements to a Floor Plan
Did you know that RoomSketcher offers seven different types of measurements? From displaying room area to measuring the distance between items, we’re here to guide you through each one step by step.


Quick Summary:
RoomSketcher offers seven ways to display measurements on a floor plan. Room Area shows the size of a room, Room Dimensions gives its length and width, Room Measurements labels each wall within a room, Outside Measurements covers the building exterior, Wall Measurements handles individual walls, Total Area reports figures such as Gross Floor Area per level or across the whole project, and Manual Measurements let you measure fixtures and the distances between items. The first six are automatic; manual takes more effort but goes anywhere the others cannot.
In this blog post, we’ll explore all the different types of measurements you can use in RoomSketcher. Watch the video below to see them all in action, or scroll down to find the exact measurement type you're looking for.
Table of contents:
1. Room Area

The first measurement type is Room Area, which displays the size of any room in your project.
How to use:
- Switch to Walls Mode
- Click on the room you want to measure
- Enable "Show Zone Size" in the right-side settings
You can repeat this process for all the rooms in your project. If you’re working in feet but need to switch to meters (or vice versa), simply go to the orange menu and select your preferred unit.
2. Room Dimensions

Next up is Room Dimensions, which automatically displays the length and width of your rooms. This tool is incredibly user-friendly and helps ensure everything fits perfectly.
How to use:
- Navigate to Windows Etc. mode
- Open Measurement Wizards
- Select Room Dimensions and drag it into the room
ℹ️ The Measurement Wizard is available to Pro and Team subscribers.
Use it to automatically show Room Dimensions, Inside Wall Lengths, Individual Wall Length and Outside Measurements.
Want to use these measurements in your projects?
3. Room Measurements

You can use the Room Measurements tool to show the length of each wall in a room.
How to use:
- Go to Windows Etc. mode
- Open Measurements Wizard
- Select Room Measurements and drag it into the room
4. Outside Measurements

Looking for exterior measurements? Simply use the Outside Measurements tool.
How to use:
- Open Measurements Wizard
- Select Outside Measurements
- Click and drag it onto the canvas (not into a room)
5. Wall Measurements

If you need precise measurements for individual walls, then the Wall Measurements tool is what you’re looking for.
How to use:
- Open Measurements Wizard
- Select Wall Measurements
- Click and drag the line, hovering over the specific wall before releasing it
You can repeat this process for both interior and exterior walls as needed.
6. Total Area Measurements

RoomSketcher offers several types of Total Area measurements, and they're super easy to work with!
How to use:
- Go to the orange menu and click on Total Area.
- Select your area type in the drop-down menu (e.g., Grand Total Area or Gross Floor Area)
- If your project has multiple levels, click on the Level Tab to view area sizes specific to each level of your design
- Click on the Project Tab to see an overview of all areas combined across different levels. This will provide a summary of total area sizes throughout your entire property
7. Manual Measurements
Manual Measurements are perfect for measuring fixed installations and fixtures or determining distances between items.
While these tools require a bit more effort than the automatic options, they provide unmatched flexibility and precision.
How to use:
- Go to Windows Etc. mode
- Open Symbols, Text, and Lines
- Use either the Measuring Tape tool (with arrowheads) or the Measure Line tool (with flat edges). Both are located near the bottom of this category
Measure fixtures (e.g., windows and doors)

How to use:
- Drag the Measuring Tape onto your floor plan
- Adjust its position using the arrows or input the exact lengths in the settings on the right-hand side
Remember to leave some space between the text label and the object you're measuring so they don't overlap.
Measure the distance between items

You can also use the Measuring Tape to measure the distance between items.
How to use:
- Drag the Measuring Tape tool onto your floor plan
- Adjust its position until it spans both items accurately (e.g., kitchen island and cabinets)
🛋️Can't see the fixed installations?
If you've placed fixed installations in Furniture Mode but can't see them here, simply:
- Go to the orange menu
- Click on Always Furniture
Measure fixed installations (e.g., kitchen cabinets)

The Measure Line is perfect for measuring items like fixed installations and furniture. Unlike the Measuring Tape, it doesn’t have arrowheads, which makes it easier to place.
How to use:
- Drag the Measure Line tool onto your floor plan
- Adjust its position until it spans the item you wish to measure
Instead of showing the measurement as a label in the middle of the floor plan, the Mesure Line displays it in the right-hand menu.
To display the measurement on the floor plan:
- Copy the measurement from the right-hand side menu.
- Click the + sign to return to the Symbols, Text, and Lines category.
- Select the Text tool at the bottom of the category.
- Drag the Text tool into the room.
- Paste the measurement into the Label text box in the right-hand side menu.
How many measurement types does RoomSketcher have?
How do I show the area of a room?
What is the difference between Room Dimensions and Room Measurements?
How do I measure an individual wall?
How do I get the total area of a project?
When should I use Manual Measurements?
Can I switch between feet and meters?
Add Measurements to Your Floor Plans
Create clear, professional floor plans with room dimensions, wall measurements, total area, and more. With RoomSketcher, you can add the measurements you need and keep your layouts easy to read and understand.
Want to Learn More?
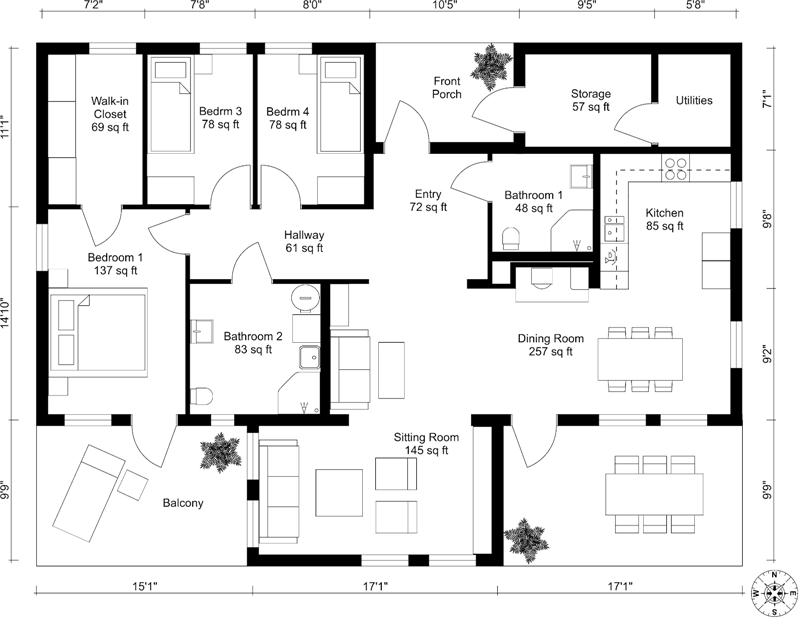
12 Examples of Floor Plans With Dimensions
This is a complete list of floor plans with dimensions, giving you lots of floor plan inspiration and examples.
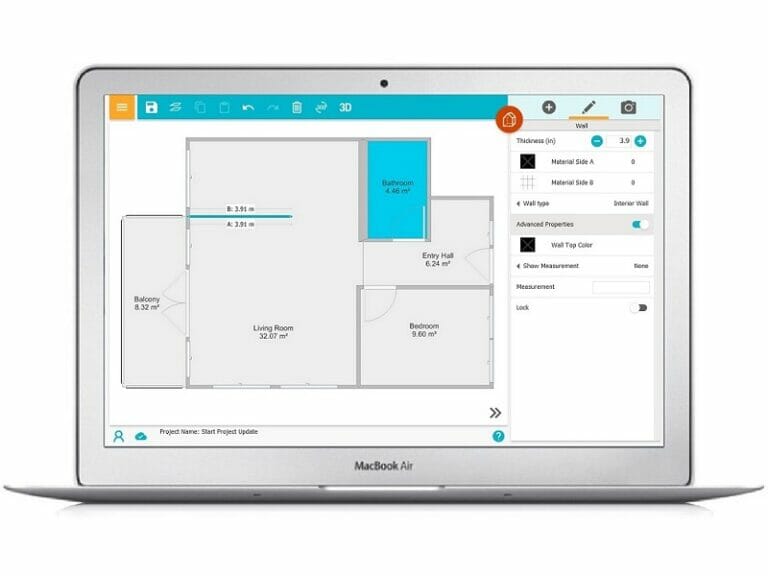
7 Tips and Tricks to Speed Up Drawing in the RoomSketcher App
Check out our best tips and tricks on how you can speed up drawing floor plans in the RoomSketcher App.

A Complete Guide to Total Living Area (TLA)
In this guide, we’ll delve deeper into the meaning of TLA, explain how to calculate it using modern software tools like RoomSketcher, and compare TLA to other measurement standards.