How to Draw Stairs on a Floor Plan
Mastering the art of drawing stairs on a floor plan is a skill that can take your architectural designs to the next level. With just a few simple techniques and some practice, you can create professional-looking staircase layouts in no time.


Quick summary:
Drawing stairs on a floor plan takes four steps: identify the stair type (straight, L-shaped, U-shaped or curved), draw the treads as parallel lines spaced to the depth of each step along with any landings or turns, add a direction arrow plus tread depth, riser height and total width, then review the whole thing for errors. The rule of thumb for comfortable stairs is that twice the riser height plus the tread depth should land between 550mm and 700mm, ideally around 600mm.
Whether you're working on a commercial renovation, a residential development, or a corporate office redesign, the ability to draw stairs is essential for clear communication on multi-level projects.
In this blog post, we’ll cover:
4 Simple Steps for Drawing Stairs by Hand
You can draw steps by hand or use a software program like RoomSketcher. If you want to draw by hand, follow these steps:
Step 1: Identify the stair type
Before putting pencil to paper (or mouse to screen), determine the type of stairs you'll draw. Are they straight stairs, L-shaped, U-shaped, or perhaps curved? Your drawing will change depending on its form, so make sure you know this upfront.
Step 2: Draw the stair steps, landings, and turns
Now it's time to start drawing! Begin by creating the individual stair treads, represented by parallel lines spaced according to the depth of each step.
Does your staircase have landings or turns? If so, you'll need to show those too. Extend the lines showing the stair treads, adjusting their direction as needed. For spiral stairs, use lines that radiate outward to show the winding steps.

Step 3: Add annotations and dimensions
After sketching the stairs, it's important to add clear annotations and details.
First, draw an arrow to show which direction the stairs rise. Next, include the key dimensions by writing out the tread depth (how deep each step is), the riser height (the vertical space between steps), and the total width of the staircase.

💡Tip:
A common rule of thumb for comfortable stairs is: 2 x Riser Height + Tread Depth = 550mm to 700mm (ideally around 600mm)
Step 4: Refine and finalize
Before calling it a day, step back and carefully review your stair drawing. Double-check dimensions, alignments, and annotations. Catch any errors now to avoid issues later. This final review ensures completeness and accuracy.
How RoomSketcher Makes Staircase Design Easy
If you want to simplify the drawing process, using floor plan software is the way to go. The RoomSketcher App offers various pre-designed stair types—straight, winding, spiral, and more. Simply choose your desired staircase from RoomSketcher’s extensive library and place it on your floor plan.
You can easily customize stair dimensions in the RoomSketcher App using either of these two methods:
- Direct input: Type the exact width, length, and height measurements. This gives you precise control over the stair dimensions.
- Best Fit options: Choose "Best Fit Width" or "Best Fit Depth" to automatically adjust the stairs to the available space. This instant feature ensures your stairs fit perfectly between walls or within designated areas.

Customization at your fingertips
RoomSketcher allows plenty of room for customization to suit your specific needs. Want to change up the stair’s materials and finishes? No problem! Our user-friendly interface lets you explore a variety of treads, risers, railings, and more.
View your staircase in 3D
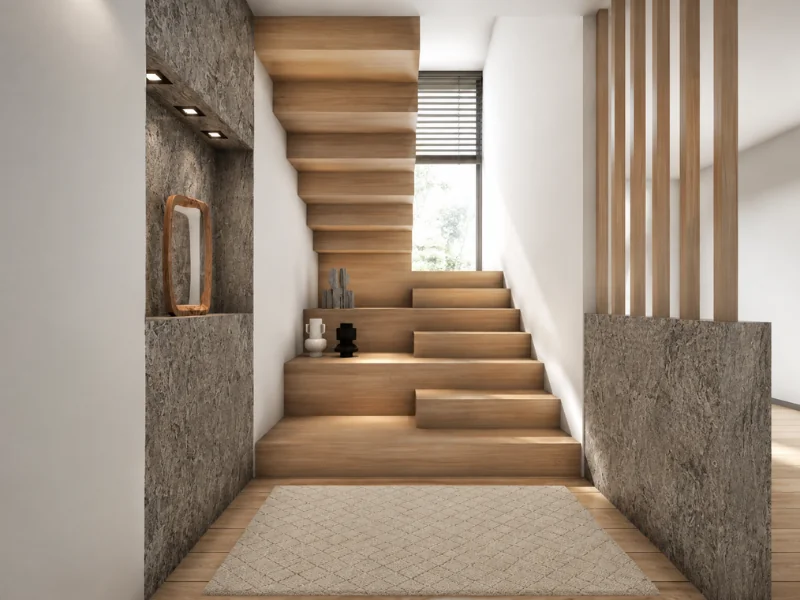
At RoomSketcher, we take pride in our powerful 3D visualization capabilities. With just a few clicks, you can see your staircase design come to life. This allows you to explore design options and make informed decisions that ensure the final result meets your expectations.
Common Staircase Design Mistakes to Avoid
When designing stairs, watch out for these common pitfalls that can impact functionality and aesthetics:
- Headroom Clearance: It’s recommended that there be at least 80 inches of clear headroom throughout the stairway and landing. Not enough headroom makes stairs uncomfortable and potentially hazardous.
- Inconsistent Treads/Risers: Varying tread depths and riser heights create an uneven, dangerous design. Keep these dimensions consistent for a smooth transition between steps. A software program like RoomSketcher will take care of this detail for you.
- No Accessibility: If serving diverse users, incorporate accessibility features like handrails, ramps, or elevators to accommodate mobility needs.
Draw and Visualize Stairs with RoomSketcher
Skip drawing every stair tread by hand. With RoomSketcher, you can add straight, winding, spiral, and other stair types directly to your floor plan.
Adjust the width, length, and height, use Best Fit options to fit stairs into the available space, and customize materials and finishes. Then view the staircase in 3D to see how it works with the rest of your design.
How do you draw stairs on a floor plan?
What should I decide before I start drawing?
How are stair treads represented on a floor plan?
What annotations and dimensions should stairs include?
What is the rule of thumb for comfortable stair dimensions?
What are the most common staircase design mistakes?
How do I draw stairs using floor plan software?
Recommended Reads

16 Stunning Staircase Ideas to Inspire Your Own Staircase Design
Visualize your staircase design online with RoomSketcher. See how different stair types and finishes will look in your home - in 3D!
How to Read Floor Plans: 9 Easy Steps
Learn how to read floor plans with our easy-to-follow guide. We'll walk you through interpreting measurements, analyzing layouts, and making sense of symbols step by step.

Floor Plan Symbols and Abbreviations
A good understanding of symbols and abbreviations will improve your ability to read floor plans. This guide covers the most common symbols and letters that you may come across.