Shabby-Chic Bathroom Makeover: A Step-by-Step Guide
In the world of interior design, 'shabby-chic' is more than just a buzzword—it's a stylistic expression that fuses vintage elegance with a relaxed, rustic charm.

Quick summary:
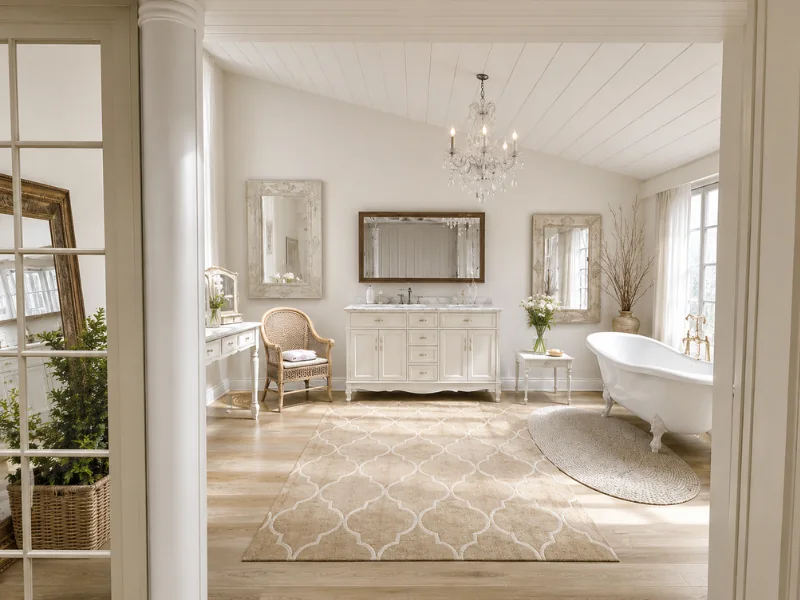
A shabby-chic bathroom combines soft neutral or pastel colors with vintage-inspired fixtures, distressed furniture, patterned details, and practical storage. Start by measuring the room and planning the layout, then choose a muted color palette, moisture-resistant materials, suitable flooring, and characterful furniture. Finish with a limited selection of decorative accessories so the room feels charming rather than cluttered.
The look is elegant without feeling formal and decorative without needing every item to match. Antique-style fixtures, painted furniture, floral details, and gently worn finishes all help create a bathroom that feels warm, personal, and collected over time.
This guide takes you through seven practical steps, from assessing the room and creating a floor plan to choosing colors, fixtures, storage, and accessories.
Table of contents:
Step 1: Assess Your Current Space
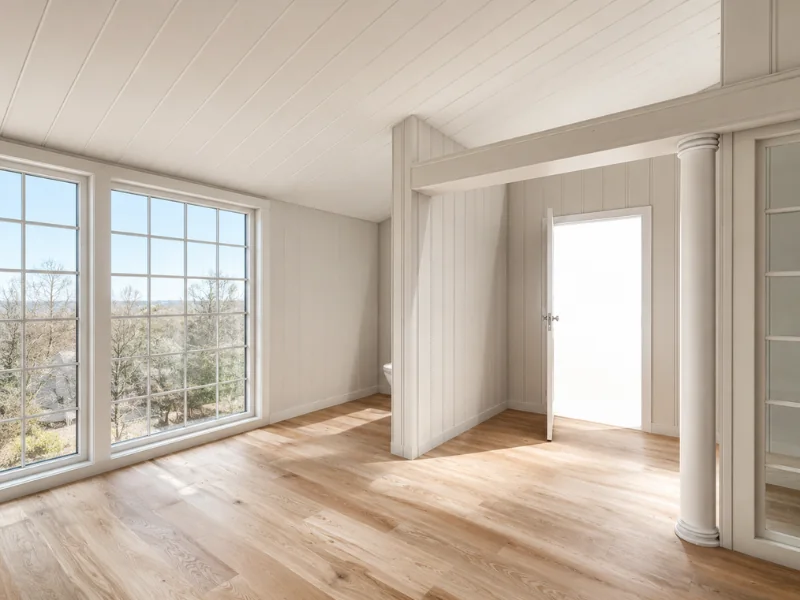
Before diving into the dreamy aesthetics of shabby chic, it's crucial to start with a practical assessment of your current bathroom layout. Look closely at the existing setup—where are the plumbing fixtures located? Is there enough natural light? Are there any structural elements, like columns or bulkheads, that you need to work around?
This initial evaluation will help you identify both the limitations and opportunities your space presents, guiding your subsequent design choices.
Taking accurate measurements is a fundamental next step and one you can't afford to gloss over. Use a laser distance measurer for the most precise results, capturing dimensions of not just the walls but also windows, doors, and any built-in fixtures.
Step 2: Create a Floor Plan
RoomSketcher is an invaluable tool at this stage, offering an intuitive platform to lay out your shabby-chic vision. If you're working with RoomSketcher, you can easily input the measurements into the app to create an accurate floor plan. This ensures that your shabby-chic elements will fit harmoniously into the available space, making your design both beautiful and functional.
When plotting your floor plan, don't forget the less glamorous but equally essential considerations—like plumbing and electrical outlets. Make note of where existing plumbing lines run, as changes to these can be both costly and time-consuming. Position your outlets thoughtfully, ensuring they're accessible but not visually disruptive. Remember, your shabby-chic bathroom should be as functional as it is beautiful, and a well-considered floor plan is the foundation upon which this balance rests.
Once you have created the floor plan, you can virtually place fixtures, furniture, and even decor items to experiment with different layouts. The software allows you to visualize the space in 3D, providing a clear sense of how the elements will come together.

Step 3: Choose a Color Palette
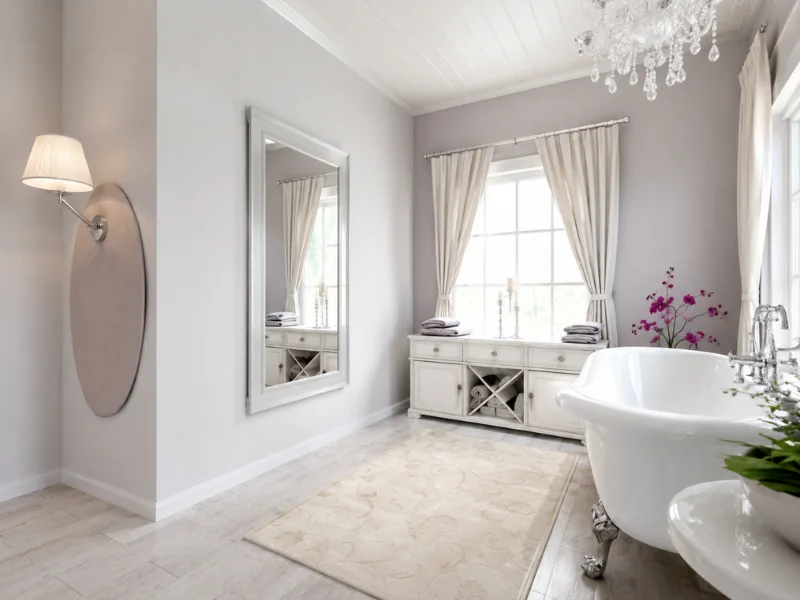
Color plays a pivotal role in setting the tone and mood of the shabby-chic bathroom space. Classic shabby-chic colors lean toward soft, muted hues like pastels, creamy whites, and light grays. These colors evoke a sense of vintage charm while providing a neutral backdrop that allows your distressed furniture and antique fixtures to shine.
You might also choose pops of faded pinks, blues, or greens to add a dash of whimsy without overwhelming the senses.
When selecting your color scheme, consider pairing a light, neutral base color with soft tones to accentuate key elements. For instance, creamy white walls could be complemented by rose-tinted tiles and duck-egg blue cabinets.
Alternatively, a light gray foundation could be paired with ivory and seafoam green accents. The goal is to craft a cohesive, layered look that embodies both elegance and ease, hallmark traits of the shabby-chic style.
Step 4: Select Materials and Fixtures
The material and fixture choices can make or break your shabby-chic bathroom design. For materials, consider textures that evoke a sense of history and charm. Reclaimed wood is an excellent choice for vanity tops or shelving, offering a rustic counterpoint to softer elements in the room.
Vintage tiles, whether on the floor or as a backsplash, can add a layer of authenticity and visual interest. Think along the lines of subway tiles with a distressed finish or even Moroccan tiles with a muted color palette for that aged yet sophisticated look.
When it comes to fixtures, attention to detail is important in a shabby-chic bathroom. Antique brass or brushed nickel faucets complement the shabby-chic aesthetic beautifully. Clawfoot tubs and pedestal sinks are statement pieces that add character, while a vintage mirror with a distressed frame can tie the entire room together. The key is to strike a harmonious balance between form and function, selecting fixtures that not only fit the visual theme but also meet the practical needs of a bathroom.
Step 5: Flooring and Wall Treatment
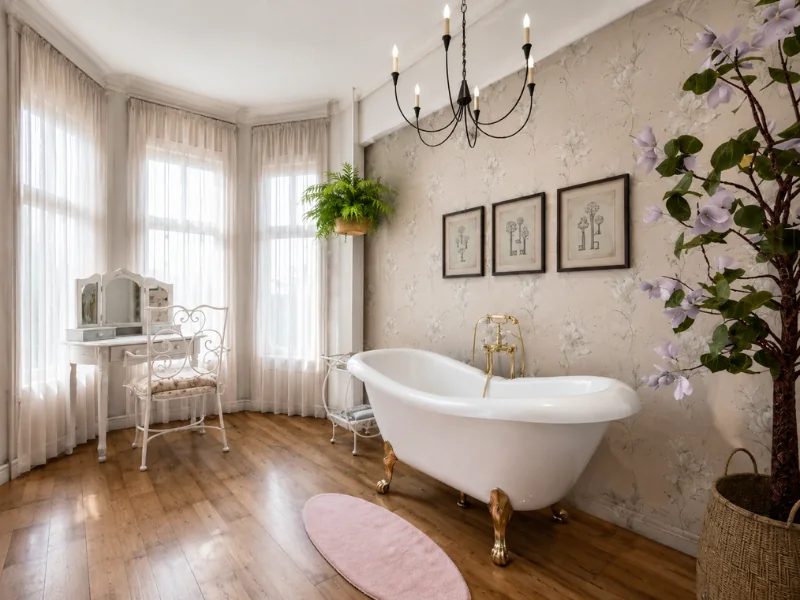
Flooring and wall treatments are vital components in bringing your shabby-chic bathroom vision to life. For flooring, consider materials that offer a rustic or worn-in look—think whitewashed wood or vintage-inspired tiles.
If you're aiming for something less traditional, cork or distressed concrete can add a unique touch.
The key is to choose a floor that complements your color palette and overall aesthetic. For installation, ensure the flooring material is suitable for wet environments and consider adding a waterproof layer or sealant for longevity.
When it comes to wall treatments, the shabby-chic style offers plenty of room for creativity. You could opt for beadboard wainscoting for a cottage-like feel or perhaps a soft, floral wallpaper for a more feminine touch. Another popular option is to use reclaimed wood as an accent wall to add texture and depth to the space.
If you prefer paint, consider finishes that add a touch of antiquity, such as chalk or milk paint in a soft, muted color.
Step 6: Install Cabinetry and Storage
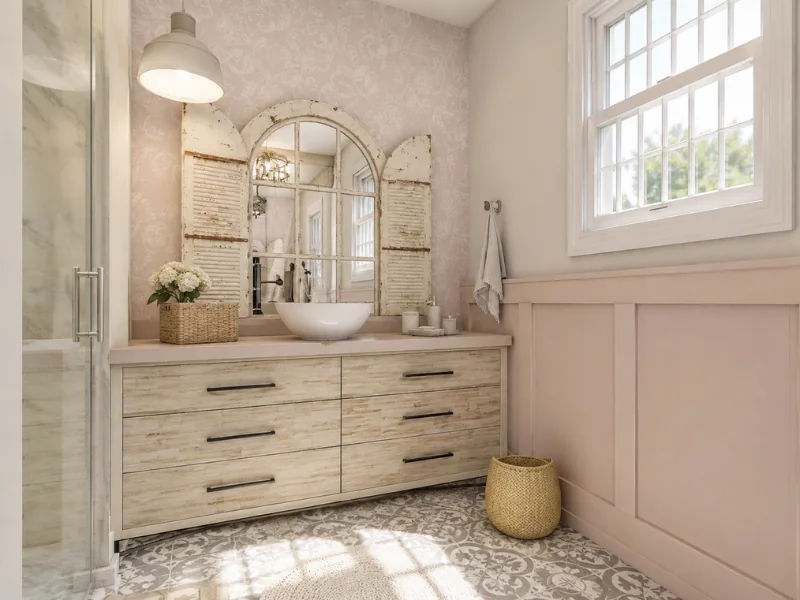
In a shabby-chic bathroom, your cabinetry and storage solutions should be as functional as they are aesthetically pleasing. Opt for cabinets that evoke a sense of vintage flair—think distressed finishes, glass-paneled doors, or carved detailing.
Open shelving is another great option, providing an opportunity to display decorative items like antique jars or floral arrangements. For a truly unique touch, consider repurposing a vintage dresser into a vanity, giving the piece a second life while elevating the room's design.
To infuse a personal touch into the space, DIY projects can be a game-changer.
Consider creating a wall-mounted mason jar organizer for toiletries or a reclaimed wood towel rack. If you're up for a little upholstery, a vintage stool with a shabby-chic fabric seat can add utility and style. The beauty of shabby-chic design lies in its personalized, eclectic feel, so don't hesitate to put your unique stamp on the space.
Step 7: Add Shabby-Chic Bathroom Accessories
As you near the finish line of your shabby-chic bathroom project, accessories serve as the final brush strokes on your design.
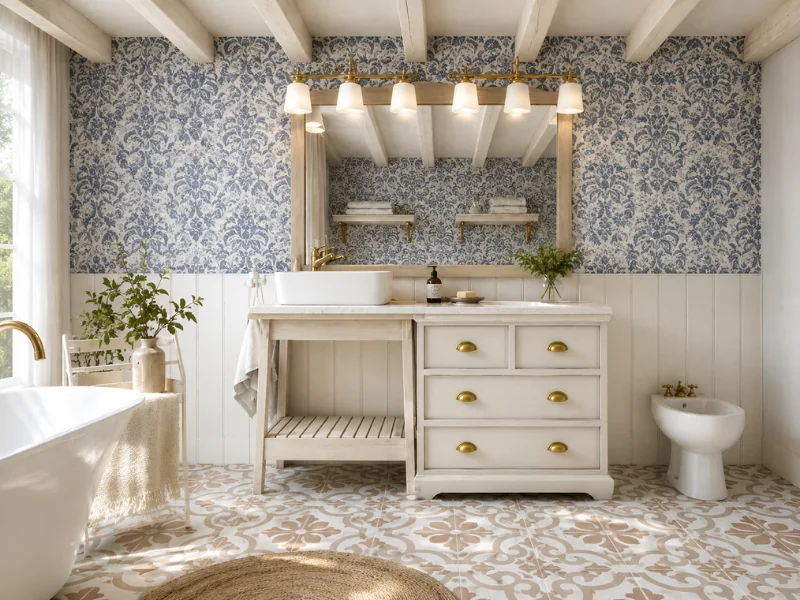
The key is to choose elements that resonate with the room's overall aesthetic while adding layers of comfort and visual interest. For curtains, think about delicate, lacy fabrics or perhaps a floral print that ties in with your color palette. Rugs can add warmth and texture to your space; look for vintage patterns or crochet rugs that maintain the room's soft, welcoming vibe.
Artwork and wall decor shouldn't be an afterthought. Consider vintage prints, framed embroidery, or even small, repurposed window frames to serve as unique art pieces in your shabby-chic setting.
Remember, the style thrives on imperfection and character, so don't shy away from items with a little wear and tear. Each piece should tell a story, contributing to a bathroom that feels both cohesive and effortlessly curated.
Create a Shabby-Chic Bathroom Design
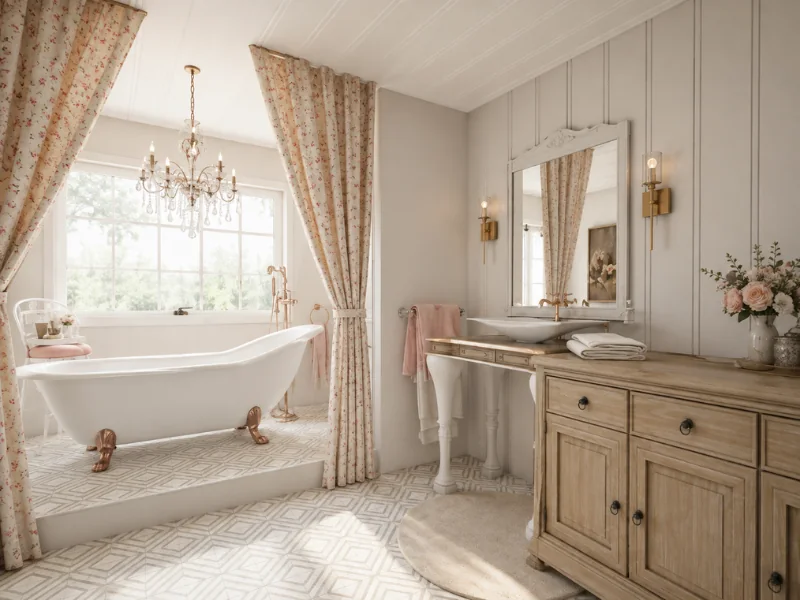
All the designs in this article were created with RoomSketcher's bathroom planner.
Use the RoomSketcher app to test different layouts, soft color combinations, vintage-style fixtures, wall treatments, furniture, and accessories. View the bathroom in 3D and compare your ideas before buying products or beginning the makeover.
Whether you are planning a full renovation or refreshing the room with paint, storage, and decor, RoomSketcher helps you bring the whole design together in one editable project.
Common Questions
Creamy white, ivory, beige, pale gray, faded pink, powder blue, sage green, lavender, and duck-egg blue all work well. Use a light neutral base and add one or two muted accent colors.
Painted wood, sealed reclaimed wood, ceramic tile, marble-effect surfaces, vintage-inspired patterned tile, and brushed or aged metals all suit the style. Make sure every material is suitable for humidity and wet areas.
Yes, provided it is structurally sound and protected from moisture. Seal wooden pieces and make sure any furniture converted into a vanity can support the sink and accommodate plumbing.
Limit the color palette, leave some surfaces clear, and combine decorative open shelving with closed storage. Choose a few meaningful accessories instead of displaying everything at once.
Recommended Reads
Complete Guide to Popular Bathroom Styles
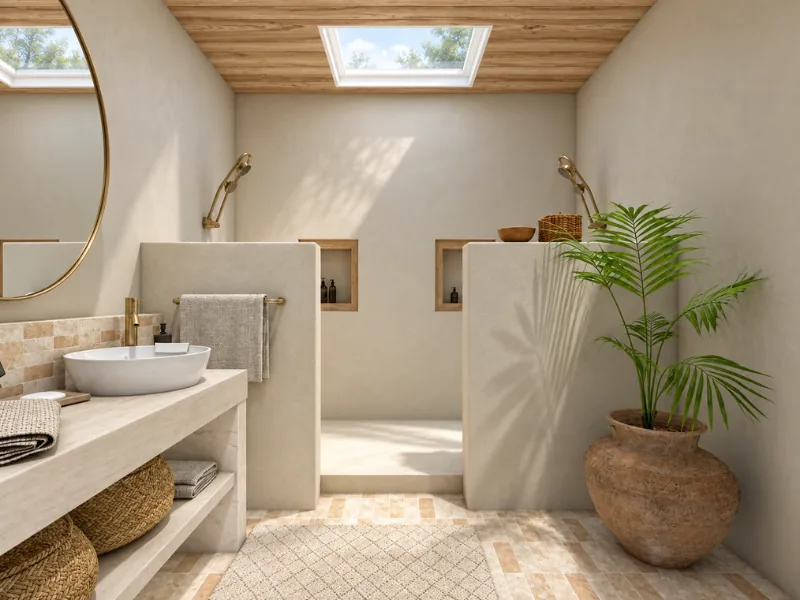
Check out our complete guide to popular bathroom styles. More than 15 styles to choose from with lots of inspiration and how-to advice. Learn more now.
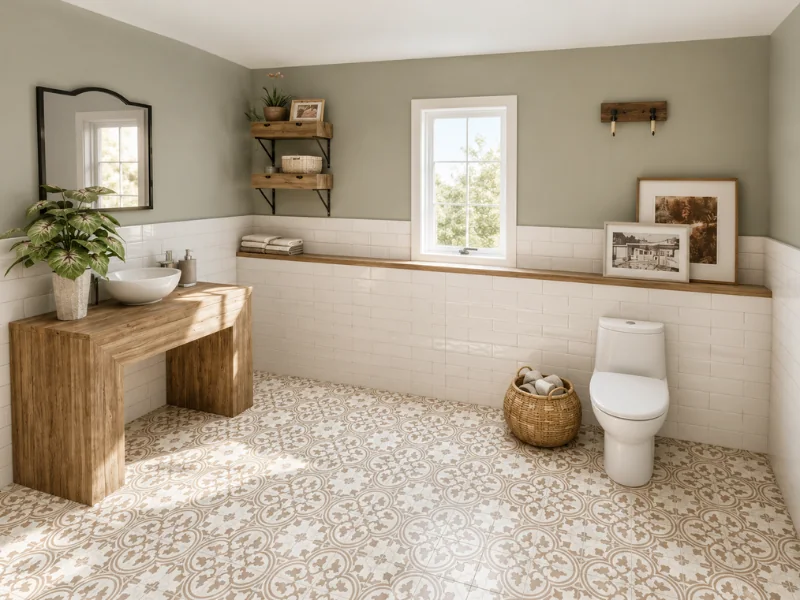
5 Key Elements of a Rustic-Style Bathroom
Ideas and tips for creating a stunning rustic style bathroom full of nature, farmhouse vibes, and aged organic materials.
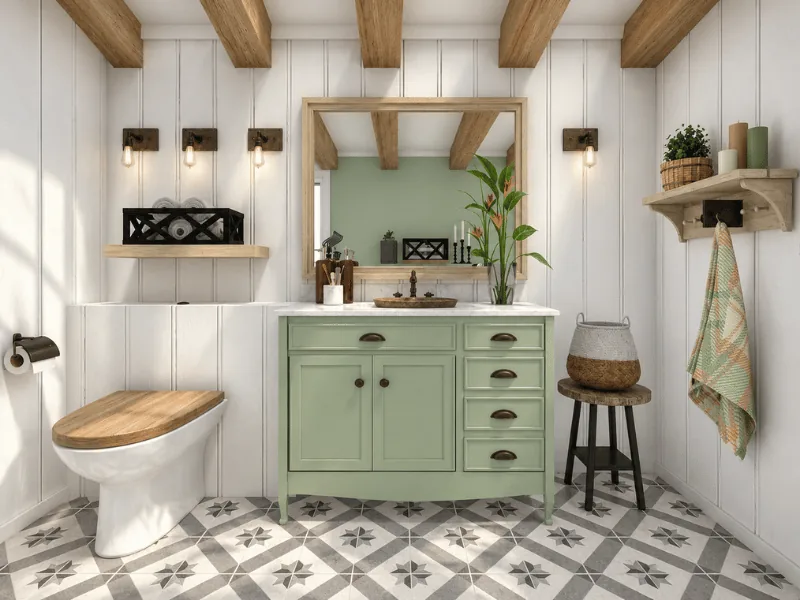
Bring Home the Farmhouse Bathroom Style
We share tips on how you can incorporate some trending farmhouse bathroom style ideas into your bathroom design.