Can a Design Tool Create Floor Plans? Canva vs RoomSketcher
How does a graphic design platform compare to professional floor plan software for making floor plans? We tested Canva's floor plan creator and compared it to RoomSketcher.
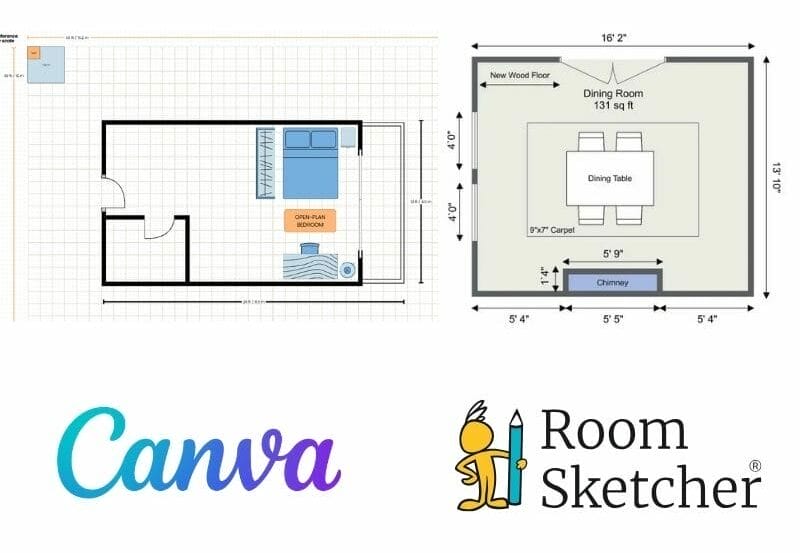

Article Summary: If you want to create professional floor plans, RoomSketcher is the better choice. Canva works well for simple visuals, but RoomSketcher is built for accurate, to-scale floor plans you can actually use.
Canva is a graphic design platform made to create visual content like presentations, posters, and social media graphics. It also includes a floor plan tool. But how does that tool compare to professional floor plan software like RoomSketcher?
To find out, we tested Canva's floor plan tool and compared it directly with RoomSketcher. We looked at how the two tools handle accuracy, drawing and editing, templates, measurements, 2D and 3D output, learning curve, and professional workflows.
Side-by-Side Comparison
| Feature | Canva | RoomSketcher |
|---|---|---|
| Scan Interior | - | Yes - iOS LiDAR |
| Draw Floor Plans | Yes | Yes |
| Order Floor Plans | - | Yes |
| Trace Over an Existing Floor Plan | - | Yes |
| Convert an Existing Floor Plan | - | Yes |
| Edit Floor Plans | Yes | Yes |
| 2D Floor Plans | Yes | Yes - Downloadable 2D Floor Plans (JPG, PDF) |
| 3D Floor Plans | - | Yes |
| 3D Visualization | - | Yes - 3D Photos, 360 Views |
| 3D Walkthrough | - | Yes |
| Site Plans | - | Yes |
| Measurements | Manual text labels | Automatic, to scale |
| Total Area Calculations | - | Yes |
| Customization of Floor Plans | Yes - 2D Only | Yes - 2D and 3D |
| Branded Floor Plans | - | Yes |
| Customizable Templates | Yes | Yes |
| Cloud Storage | Yes | Yes |
| Furniture Library | Limited to templates | Full library + Favorites |
| 2D Symbols | - | Yes + custom symbols |
| Pricing | Free, Pro, Business | Free, Pro, Team |
| Customer Support | Help Center, Chat | Chat, Email, Help Center, 1:1 Training for Business Users |
| Sharing | Link, Email, Embedded | Project link - includes presentation with images, floor plans, and walkthroughs, share floor plans and images as PDF, JPG, PNG |
How You Create a Floor Plan
How you get started matters, especially if you don't already have a finished floor plan.
With Canva, there are only two ways to create a floor plan. You draw it yourself by starting from a blank canvas or a template and build the layout manually using lines, shapes, and icons. There's no support for scanning a space, importing an existing floor plan in a structured way, or converting a drawing into an editable layout.
RoomSketcher offers several ways to create a floor plan, depending on what you already have.
If you don't have a floor plan yet, you can draw one from scratch in the RoomSketcher app. You can also use an iPhone or iPad with LiDAR to scan your property and turn the scan into an editable floor plan, which is especially helpful when working with existing spaces.
If you already have a floor plan you want to digitize or edit, RoomSketcher gives you multiple options. You can order professional floor plans by submitting a sketch or blueprint, convert an existing floor plan image into an editable project using AI Convert, or upload a drawing and trace over it manually.
This flexibility makes it easier to get started, no matter what stage you're at.
Can You Create an Accurate Floor Plan with Canva?
Accuracy is one of the most important factors when creating floor plans, and this is where the two tools differ significantly.
Canva does not show accurate measurements when drawing or editing a floor plan. You draw freely, and then type measurements into the text blocks yourself. This makes scaling difficult, especially if you don't already know the exact measurements. Because the measurements are manual, it's hard to trust that the finished floor plan is actually to scale. Some templates might provide you with a reference scale, but drawing without one (or using a template without one) is much more difficult.
RoomSketcher calculates measurements automatically as you draw. Whether you know the measurements beforehand or not, it's easy to create an accurate floor plan. Wall lengths, room sizes, and total area calculations are handled for you, which is essential when the floor plan needs to be reliable and precise.
What Happens When You Need to Change the Layout?
Most floor plans don't stay the same from start to finish. This is where the difference between a design tool and floor plan software really shows.
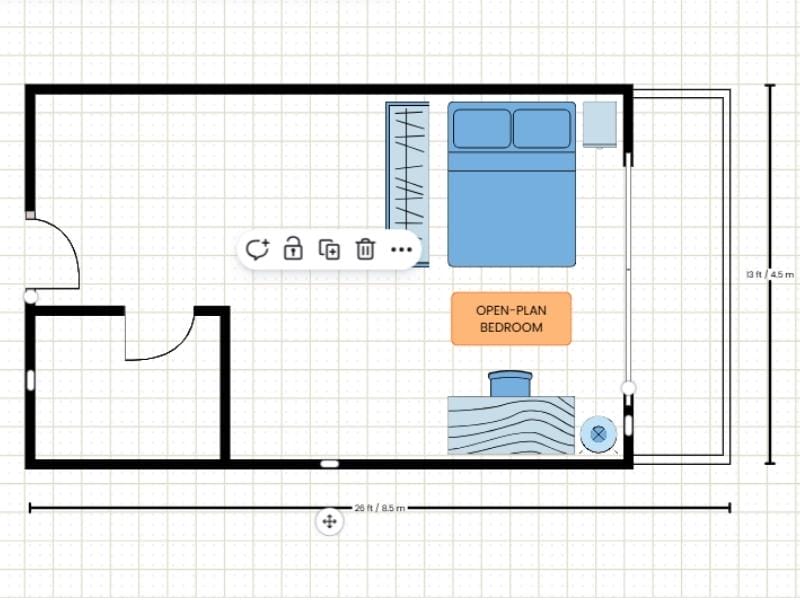
In Canva, drawing and editing are visual and freeform. Walls are just lines, not connected structural elements. Editing often involves copying and pasting lines, manually matching line thickness, and redrawing sections when something doesn't connect properly.
On pre-made templates, it's not always possible to move every wall freely. Most walls include a control point that lets you extend or contract them, but this isn't consistent. In one template we tested, a wall was missing its control point entirely.
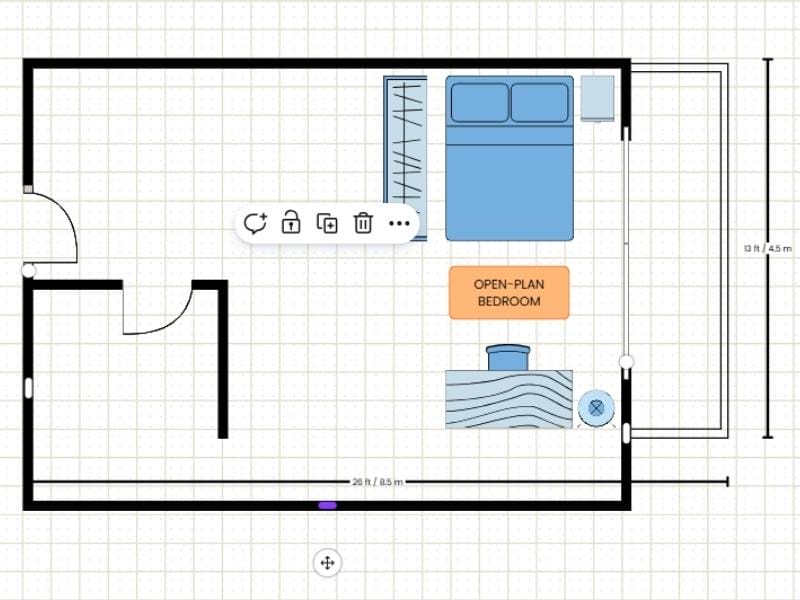
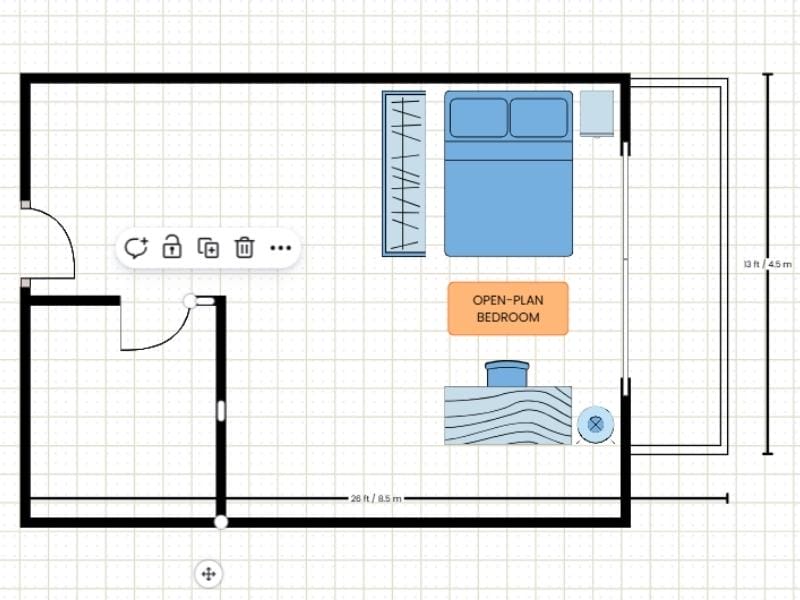
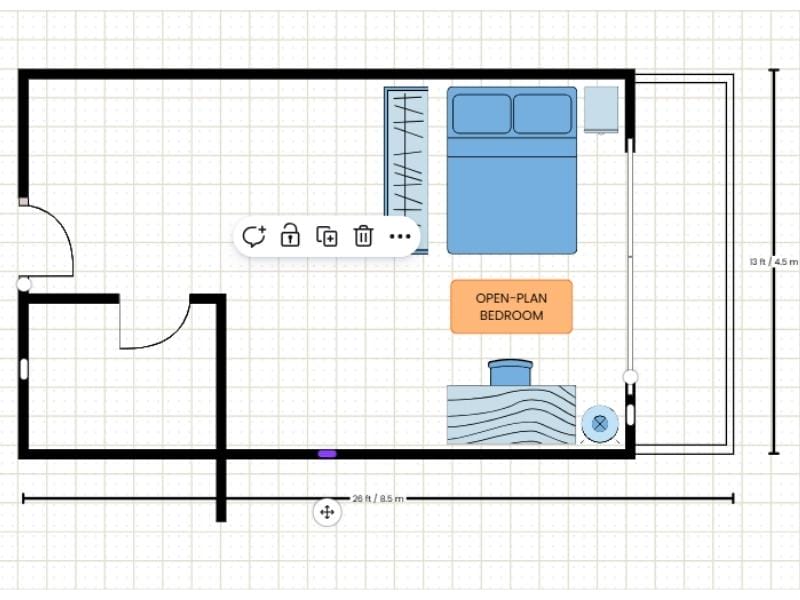
- To extend the smaller room, we had to drag the long wall down.
- Then extend the smaller room's wall to connect it.
- When we tried to move the long wall back, the shorter wall did not stay connected.
The only way to fix this was to delete the wall entirely and redraw both rooms from scratch. These simple changes can become incredibly time-consuming.
Canva's learning curve further reflects this. Instructions are provided inside templates, but not when creating your own designs. Drawing a straight wall can take longer than expected. One common method is to use the Toolkit, choose an elbowed or straight line, copy and paste it into the template, then manually adjust the stroke style to match the thickness of existing lines. Drawing freely is possible, but no faster.
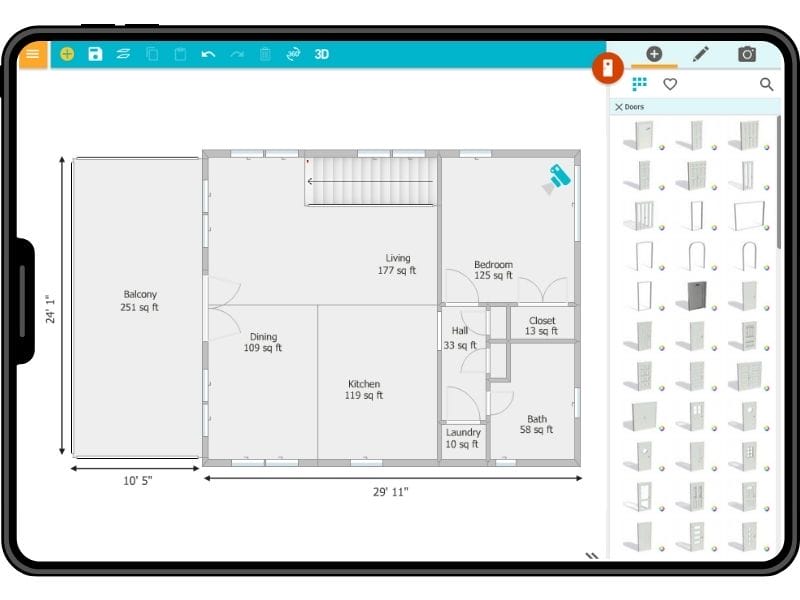
RoomSketcher is built for iteration. You draw walls directly in Walls Mode, starting anywhere in the workspace. Walls and rooms stay connected, and you can drag any wall in or out to resize a space. Rooms and zones adjust automatically, making it easy to refine a layout without breaking the floor plan. The workflow is intuitive and doesn't require a background in graphic design.
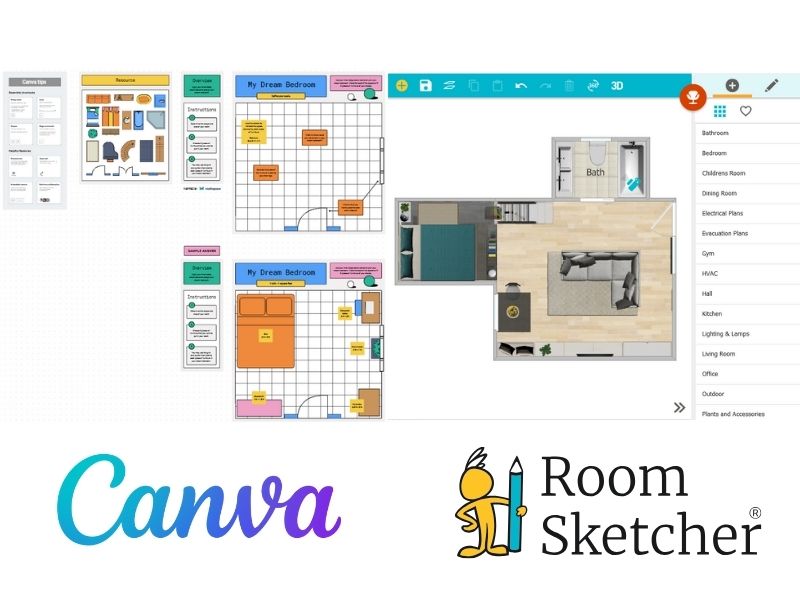
Getting Started with Templates
In Canva, the floor plan tool is located inside the Whiteboards feature. Canva provides pre-made floor plan templates with color-coded furniture that matches the layout's overall look. Furniture is placed using drag-and-drop. Templates include text labels for room names or area measurements, lines for drawing walls and balconies, and shapes that can be used for doors or adjusted into windows.
Some templates are free, while others require a Pro subscription.
The templates look good, but customization can be tricky. If fixtures or elements are missing, they must be drawn manually using shapes and lines. This works for small adjustments, but it becomes tedious when you need to change the plan's structure.
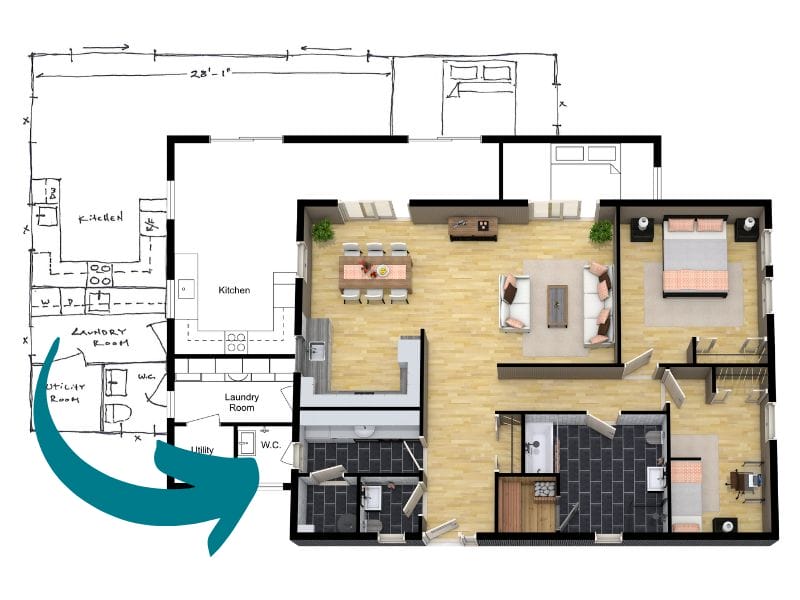
In RoomSketcher, templates are available in the Floor Plan Gallery on the website and inside the app when creating a new project. When you click New and select Use a Template, you can choose from hundreds of layouts. Any template can be fully customized, including walls, furniture, and materials. Templates are designed to be flexible starting points, not fixed designs.
Delivering 2D and 3D Floor Plans

Canva only supports 2D floor plans viewed from a bird's-eye view. There are no 3D features or visualizations.
RoomSketcher lets you work in 2D and 3D simultaneously:
- Draw in 2D
- View the floor plan in 3D while working using Live 3D
- Draw walls to scale using real dimensions
- Explore spaces with 360 Views
- Render realistic 3D Photos
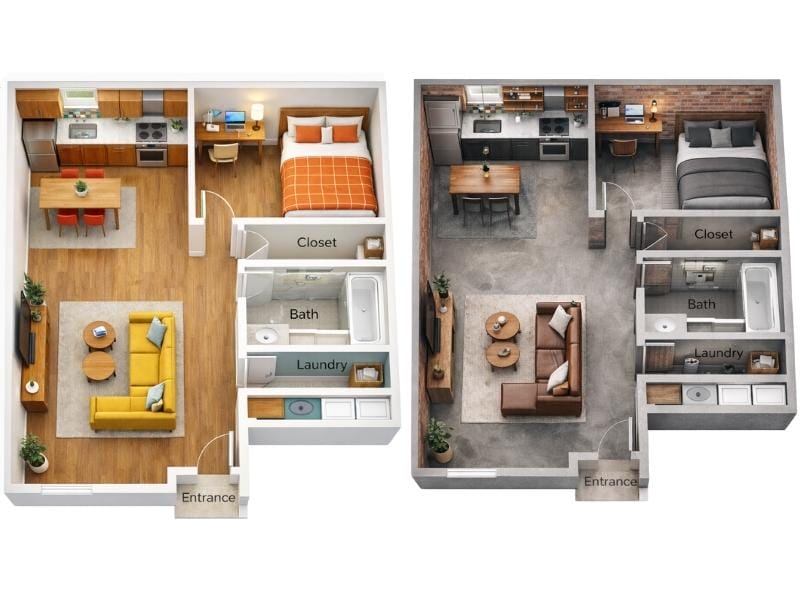
RoomSketcher also lets you generate professional 2D Floor Plans and create detailed 3D Floor Plans and visuals, ready to share or download.
Order Floor Plans
If you need floor plans quickly, RoomSketcher offers a redraw service that Canva does not.
With the Order Floor Plans service, you can submit a sketch or blueprint and receive professional-quality 2D and 3D Floor Plans by the next business day. After receiving them, you can edit the plans, regenerate visuals, and reuse them as needed.
Furniture Library and Visual Details
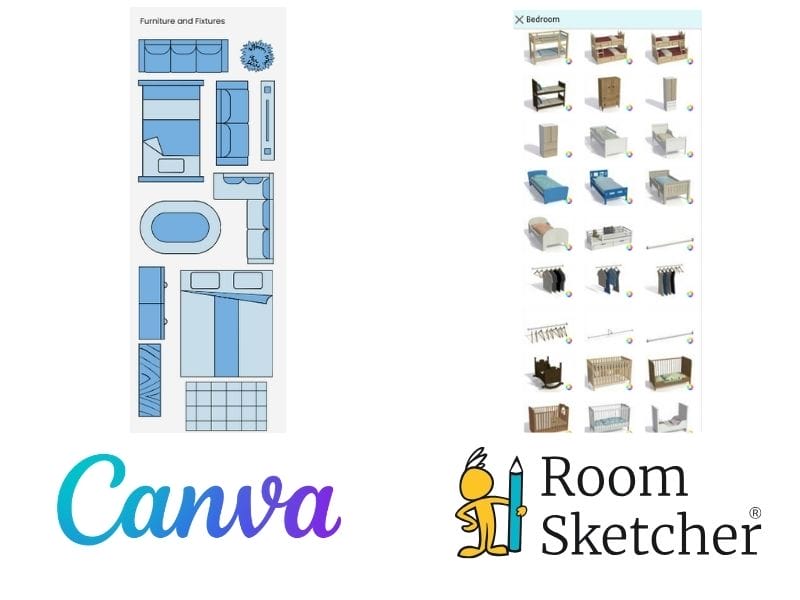
Canva relies on generic shapes and icons for furniture and fixtures. You can change colors, but elements remain abstract.
RoomSketcher includes a large furniture library with realistic items. You can adjust materials, finishes, and layouts to match real spaces, which makes a big difference when you want your floor plan to look professional and presentation-ready.
Support and Learning
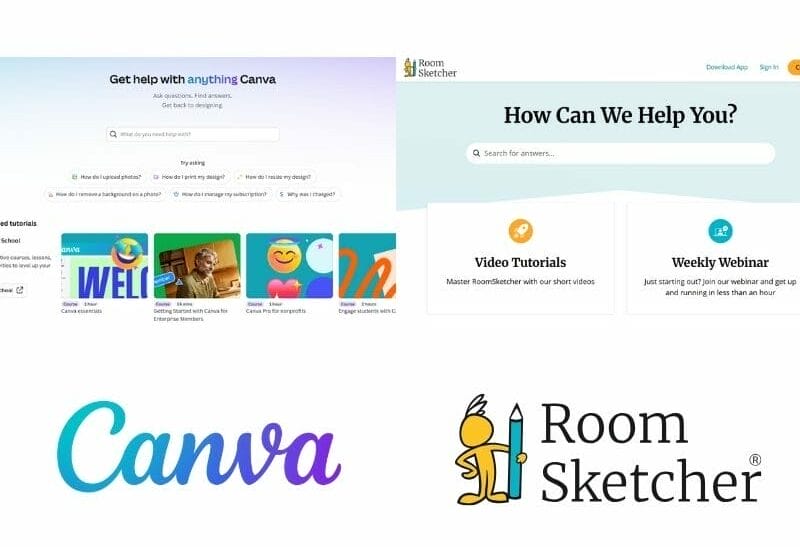
Canva offers a general Help Center that covers the entire platform, along with chat support. Floor plan help is a part of the broader Canva support experience, and there is no option to call or email.
RoomSketcher supports you throughout the process. In addition to a dedicated Help Center, you can contact customer support via chat or email, and business users can access 1:1 training. There are also weekly webinars available for anyone. Help is focused specifically on floor plan creation.
Which Should You Choose?
Canva is suited for presentations, mood boards, and simple visual layouts where accuracy is not critical.
RoomSketcher is built for professional floor plans. If you need accurate measurements, reliable 2D and 3D visuals, and tools designed specifically for floor plan creation, RoomSketcher is the better choice.
Frequently Asked Questions (FAQ)
You can use Canva to edit and create simple 2D floor plans. However, it lacks accuracy, which can be a crucial part of floor plan creation, making it unsuitable for larger projects.
Some common floor plan mistakes include:
Inadequate storage: Forgetting to include enough closets, pantry space, or dedicated spaces for other storage (utility rooms, for example).
Poor traffic flow: Having to walk through, for example, the kitchen to get to other rooms, and locating bedroom doors next to high-traffic areas such as the living room.
Ignoring room proportions and furniture sizes: Rooms that are too small or too large, and failing to scale furniture can leave rooms unusable.
To avoid these mistakes, it's best to draw floor plans beforehand with floor plan software like RoomSketcher to make sure you capture all the details before renovating or building.
You cannot import editable floor plans to Canva, only image files for presentations and mood boards.
Recommended Reads
Can ChatGPT Make Floor Plans? We Put It to the Test
ChatGPT can generate simple floor plan sketches, but it struggles once you start making changes. We tested how well it handles real layout work, from editing and iteration to reuse across 2D and 3D.

Top 9 Floor Plan Software Tools for 3D Floor Plans
3D floor plans turn simple layouts into realistic, easy-to-understand visual experiences. They help people explore design ideas and instantly understand a space. Here's a list of the best floor plan software to use for your 3D floor plans.
The 8 Best Floor Plan Software for iPad and Tablet
Being able to work from anywhere when working on a floor plan project is important for the process. But which floor plan software should you choose?