5 Tips on How to Draw a Blueprint by Hand
How can you efficiently draw a blueprint by hand? At RoomSketcher, we frequently receive this question. We've gathered tips from professionals who create hand-drawn blueprints daily, using only a pen, paper, and a laser measurer.
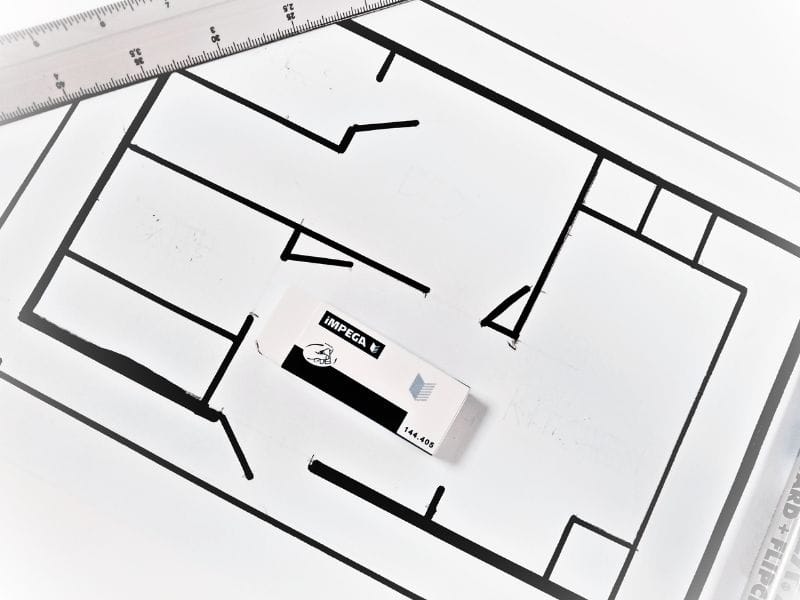

Quick Summary:
You can draw a usable blueprint with a pen, paper and a laser measure (a tape measure works, with less accuracy). Walk the property first to understand its layout, then work room by room starting with the largest: sketch the wall shape, measure and note each wall, add doors, windows and stairs with blueprint symbols, and mark fixed installations such as bathroom and kitchen fittings. Move to the next room via the opening between them and repeat. Graph paper makes lines straighter and proportions easier — two squares to a meter, for instance.
You don’t need specialist drafting software to capture the layout of a property. A simple hand-drawn blueprint can be enough to record the shape of each room, key measurements, doors, windows, and fixed installations.
The important part is having a clear process. By working through the property in a logical order and noting the right details as you go, you can create a sketch that is easy to understand and ready to turn into a professional floor plan later.
Before we get into the five tips, let’s clarify what we mean by a blueprint and how it differs from a floor plan.
In this article:
Blueprint vs. Floor Plan – Definition
The terms "floor plan" and "blueprint" are often confused, but they have important differences. A blueprint originally meant a copying method. It created white lines on blue paper to show different building designs. Today, it usually describes an architect’s detailed drawing of a floor plan or building, complete with measurements.

At RoomSketcher, we see a blueprint as any drawing related to a floor plan. This includes everything from an architect's design to a simple hand sketch.
A floor plan is a basic drawing that shows a property's layout from above. To make a floor plan, you usually start with a blueprint. You can get this blueprint from architects, builders, or past home sales. If you don’t have a blueprint, you might need to create one yourself.

How to Draw A Blueprint By Hand
Before you begin, ensure you have a pen, paper, and a simple laser measure. If you don't have a laser measure, you can still create your blueprint, but it may not be as accurate. In that case, use a standard tape measure instead.
If you don't have a tape measure either, you can estimate distances by stepping. One long stride equals about 1 meter or 3 feet. With tools in place, follow the RoomSketcher 5-step process on how to draw your blueprint by hand.
1. Start with a Walkaround of the Property
A walkaround is a helpful way to familiarize yourself with a property before drawing. Many professionals, like real estate photographers, do this while taking photos. It allows you to visualize the property’s shape, which helps in accurately representing it on paper and avoid surprises during the drawing process.
Tips at this stage:
- If it’s a house, take a walk around the house outside and make a mental note of its shape
- If it’s an apartment, quickly walk through the rooms to get an overall sense of its layout
- Try to get a mental overview so that the overall shape is reflected in your blueprint

2. Go Room By Room: Draw Walls First
Start with the biggest room in the property. Enter and observe its shape. Is it a rectangle or does it have corners? Draw this shape on your paper, leaving space for the rest of the floor plan.
The earlier walkaround helps give you a general idea of the layout. Make the longest wall the longest line on your paper for proportion.
Once your shape is drawn, use your laser measure to measure the walls. Note the lengths in meters or feet. Clearly mark the wall lengths on your sketch, leaving space for adding windows and other details later.
Tips at this stage:
- Enter room
- Determine shape
- Draw shape eg. square
- Measure and note down wall lengths

💡Top RoomSketcher Tip
Use graph paper/squared paper when creating your blueprint. This makes it easier to create straight lines and to make your drawing proportional (e.g. 2 squares = 1m)
3. Next: Add Doors, Windows, and Stairs
After measuring the walls, add key features like windows, doors, and stairs using standard symbols for clarity. Show their locations in relation to each other on the blueprint.
For accurate measurements, use a laser measure and note the distance from a window to a door or to the room's corner.
Tips at this stage:
- Look around the room for any key structural items (doors, windows, stairs)
- Mark doors – including opening angle
- Mark windows
- Add stairs – note direction (up or down)

4. Add Fixed Installations
The last step in drawing a room is to add fixed installations. These are usually found in a bathroom, kitchen, or laundry room. Make sure to include all the fixed installations you want on your final floor plan. It’s best to use blueprint symbols to show what you are drawing clearly.
Tips at this stage:
- Are there any fixed installations in this room?
- Kitchen – remember to include a sink, fridge, oven, and the cooktop
- Bathroom – include a WC, vanity, shower, and/or bathtub
- Laundry – include a washer, tumble dryer, sink, etc
- Wardrobes and/or coat hangers in walk-in closets

5. Move on to the Next Room
After you are done with the first room, you are ready to move to the next room. Think about how the next room adjoins with the room you just drew. Add in the door or opening between the two rooms, and then you are ready to repeat the process for the next room.
Start with determining the room shape, draw the walls, note the measurements, and add in the key structural items followed by the fixed installations.
Tips at this stage:
- Room shape
- Add wall measurements
- Insert key structural items like doors, windows, and stairs
- Add in your fixed installations
- Move on to the next room

Checklist for your Hand-Drawn Blueprint
It’s important to check your blueprint drawing. Make sure all key details, like room names, are included. Corrections or modifications can be expensive, especially after the final floor plan is complete. Some services offer online editing tools, allowing you to update the plan yourself.
Checklist:
- The blueprint contains at minimum 1 measurement
- Room names clearly marked
- Key structural elements and fixed installations are marked using blueprint symbols
- Drawing is ideally relatively proportional
- Use one page for each level or floor of the property

Blueprint Symbols
When creating your blueprint, use standard symbols to clearly represent structural elements like doors, windows, and stairs, as well as fixed installations such as sinks and refrigerators.
If you want furniture included, consider adding symbols for beds, dining tables, and sofas. Alternatively, some services can furnish your floor plan even without these symbols.

The image above shows an example of doors and windows. We've made a full guide that contains all standard symbols, which you can download below. Use this resource when you draw your floor plan.
From Hand-Drawn Blueprint to 3D Floor Plan
Now it’s time to convert that hand-drawn blueprint into a professional 2D Floor Plan and a high-quality 3D Floor Plan. You’ll find lots of different floor plan services out there that will convert your sketch into a marketing-ready, polished floor plan.
We recommend choosing a provider that makes it easy to make changes yourself after you receive your finished floor plan, as it is quite likely that you will have forgotten some detail on your hand-drawn sketch.

Get Started Today
Once your hand-drawn blueprint is finished, you have two options for turning the hand-drawn sketch into a professional floor plan.
- Use software like the RoomSketcher App, and then upload the blueprint so that you can trace over it.
- Send in the blueprint to us through our order floor plans service, and have our team create a finished floor plan for you.
Once the finished floor plan is ready, you can open it digitally, make changes, and export the updated version.
What do I need to draw a blueprint by hand?
What is the difference between a blueprint and a floor plan?
Which room should I start with?
How do I add doors, windows and stairs accurately?
What are fixed installations and when do I add them?
How do I move on to the next room?
What should I check before finishing my blueprint?
Recommended Reads

The Ultimate Guide to Blueprint Symbols
Blueprint symbols might look complex, but they're actually a straightforward way to communicate design ideas. Let's take a look at common symbols and how they're used.

How to Draw Stairs on a Floor Plan
Mastering the art of drawing stairs on a floor plan is a skill that can take your architectural designs to the next level. With just a few simple techniques and some practice, you can create professional-looking staircase layouts in no time.

The Complete Guide to Reading Blueprints Effectively
Blueprints can seem overwhelming, but you don’t have to be an engineer to understand them! Learn how blueprints are structured, what the symbols mean, and how to read them effectively.