How to Create a Reflected Ceiling Plan
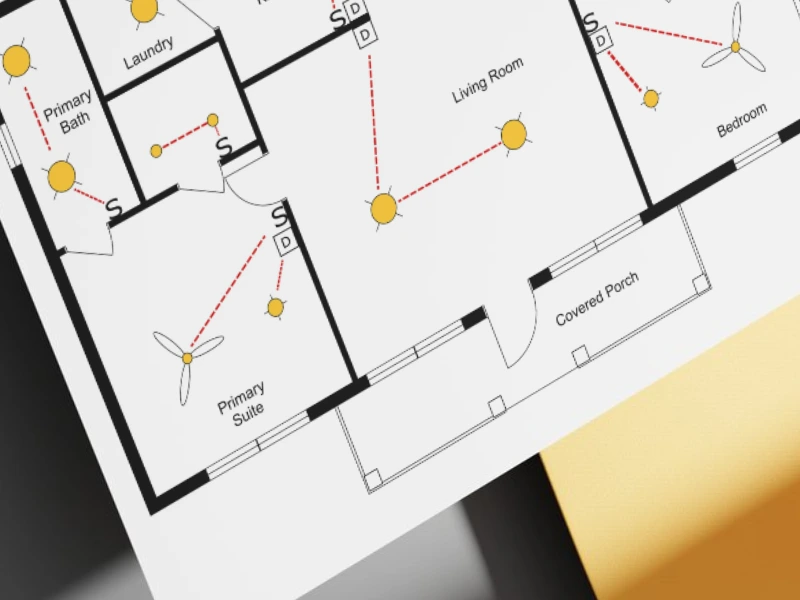
Lighting, vents, sprinklers, and ceiling features all share the same overhead space. A reflected ceiling plan helps you see how everything fits together before installation begins.

Article summary:
- A reflected ceiling plan (RCP) is a technical drawing that shows the layout of elements installed on a ceiling, such as lighting fixtures, vents, sprinklers, detectors, and ceiling features.
- The plan is drawn as if the ceiling is reflected in a mirror on the floor, which keeps the orientation the same as the floor plan.
- Reflected ceiling plans help coordinate lighting, ventilation, and safety systems while preventing layout conflicts.
- To create a reflected ceiling plan, start with a base floor plan, mark structural ceiling features, add lighting fixtures, place HVAC and ceiling-mounted devices, define switch locations, and add dimensions and notes.
Ceilings play a bigger role in a space than most people realize. Lighting, vents, sprinklers, speakers, and decorative features all share the same overhead area. Without a clear plan, these elements can easily end up misaligned or competing for space.
A reflected ceiling plan helps you organize everything that happens above a room. It shows where lighting, ventilation, and other ceiling elements should be placed so the layout works both visually and technically.
In this guide, you’ll learn what a reflected ceiling plan is, what it includes, and how to create one step by step.
In this article:
What is a Reflected Ceiling Plan (RCP)?
What to Include in a Reflected Ceiling Plan
What Is a Reflected Ceiling Plan (RCP)?
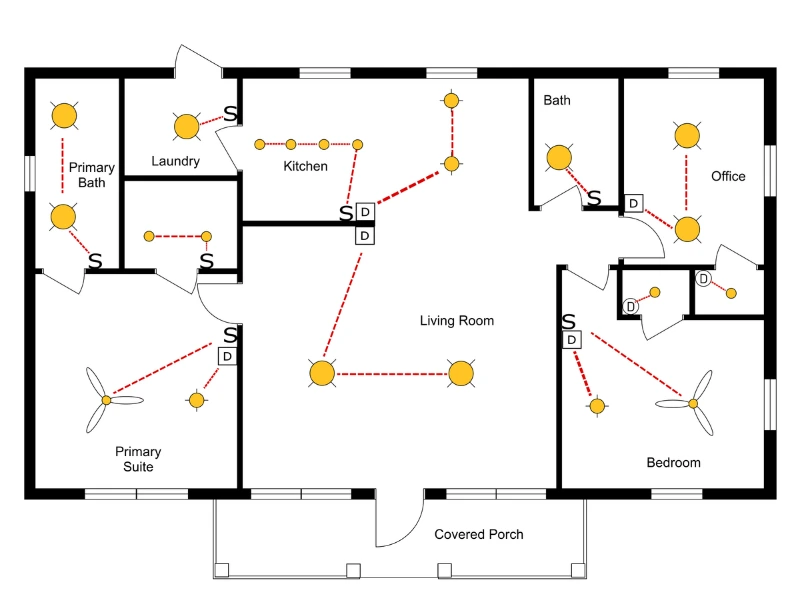
A reflected ceiling plan shows a room’s ceiling as if you are looking at it in a mirror placed on the floor.
Instead of looking up, you’re looking down at a drawing of the ceiling. This keeps the orientation the same as the floor plan, so walls, doors, and openings line up in both drawings.
In short, it’s a technical drawing that focuses on what happens above you. It shows the layout of lighting, ceiling features, vents, sprinklers, and other elements attached to or built into the ceiling.
Why Are They Important?
Ceilings carry more than you think. Lighting, vents, sprinklers, speakers, access panels, and decorative features all compete for space above your head.
A reflected ceiling plan helps you see everything in one place. That makes it easier to space elements correctly, line them up with walls and furniture, and avoid awkward placements.
It also plays a big role in lighting design. You can plan where fixtures go, make sure light is evenly spread, and highlight key areas like kitchen islands, work zones, or reception desks.
Just as important, it helps prevent conflicts between systems. For example, you do not want a light fixture and an air vent fighting for the same spot. Seeing everything together reduces costly changes later.
In open layouts, this becomes even more valuable. When one large space serves several purposes, the ceiling can help define zones and create visual balance.
What to Include in a Reflected Ceiling Plan
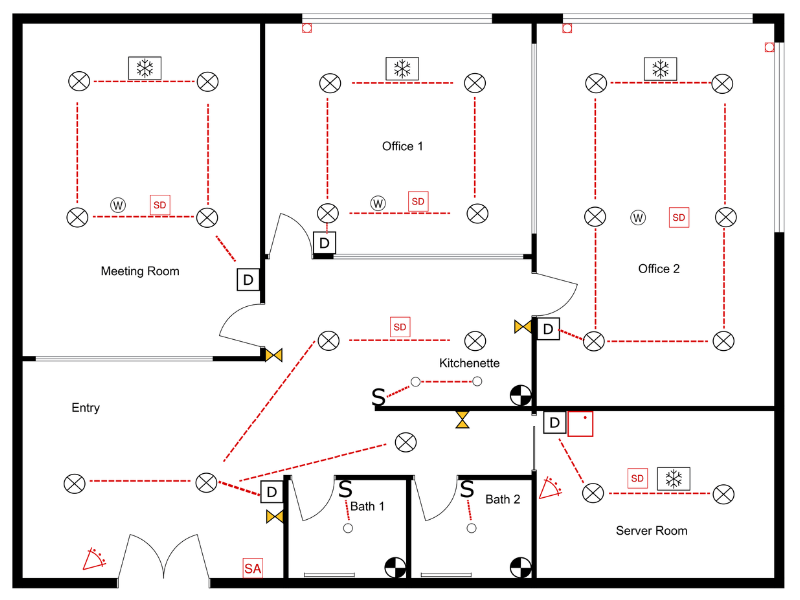
A reflected ceiling plan focuses only on what belongs above the room. By separating this information from the floor plan, you keep both drawings clear and easy to read. If you tried to show lighting, vents, switches, and wiring on the same plan as walls and furniture, it would quickly feel crowded.
A typical RCP includes:
- Lighting fixtures and their exact placement
- Ceiling features like beams, soffits, drops, or bulkheads
- HVAC components such as vents and diffusers
- Smoke detectors, sprinklers, speakers, and other ceiling-mounted devices
- Switch locations and wiring zones
- Ceiling heights and relevant dimensions
- Notes about ceiling types and finishes, like drywall, plaster, acoustic tiles, or suspended ceilings
How to Create a Reflected Ceiling Plan with RoomSketcher
1. Start with the base floor plan
Before you create a reflected ceiling plan, you need a base floor plan to work from.
If you already have a floor plan, you don’t need to redraw it from scratch. You can simply upload it and convert it into an editable project.
If you’re starting from scratch, you can easily draw your floor plan yourself. Just add walls, doors, and windows to match your space. Once the layout is ready, you can move on to planning your ceiling elements.
2. Identify structural ceiling features
Next, note any structural elements that affect the ceiling layout. This may include dropped ceilings, beams, soffits, or bulkheads.
These features can limit where lighting fixtures and other ceiling elements can be installed, so it’s important to account for them before placing fixtures.
3. Add lighting fixtures
Use the symbols library to place ceiling lights according to your lighting plan. Position them evenly and align them with key areas like seating zones, kitchen islands, desks, or walkways.
You can adjust placement easily to keep the layout balanced and functional.
4. Align ceiling elements with the floor plan
After placing lighting fixtures, check how they align with the layout of the room below. Ceiling elements should relate to the features shown on the floor plan so the design feels balanced and intentional.
For example, lights are often centered over tables, kitchen islands, or seating areas. In hallways, fixtures are usually placed along the center of the space.
5. Add HVAC and other ceiling-mounted elements
Next, add any other devices installed on the ceiling. This may include air vents, diffusers, sprinklers, smoke detectors, speakers, or access panels.
Seeing these elements together with the lighting layout helps prevent conflicts and keeps the ceiling organized.
5. Define switch locations and lighting zones
Place switches on the walls and decide how lighting will be controlled.
You might group lights into different zones, such as ambient lighting, task lighting, and accent lighting. Clear lighting zones make the space easier to use and allow for more flexible lighting throughout the day.
6. Add dimensions, notes, and ceiling details
Finish the plan by adding measurements and annotations. Include ceiling heights, spacing between fixtures, and notes about materials or finishes.
Clear dimensions and notes help contractors and collaborators understand how the ceiling should be built and installed.
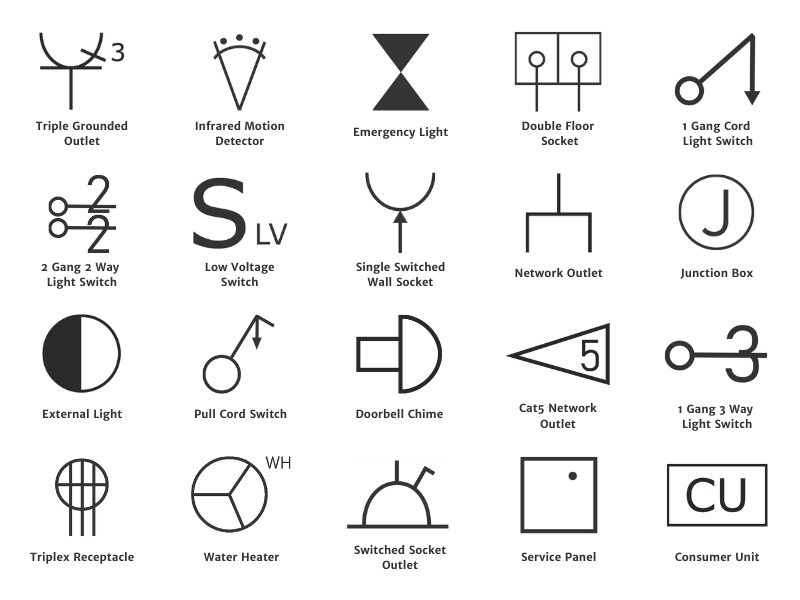
Symbols used in ceiling plans
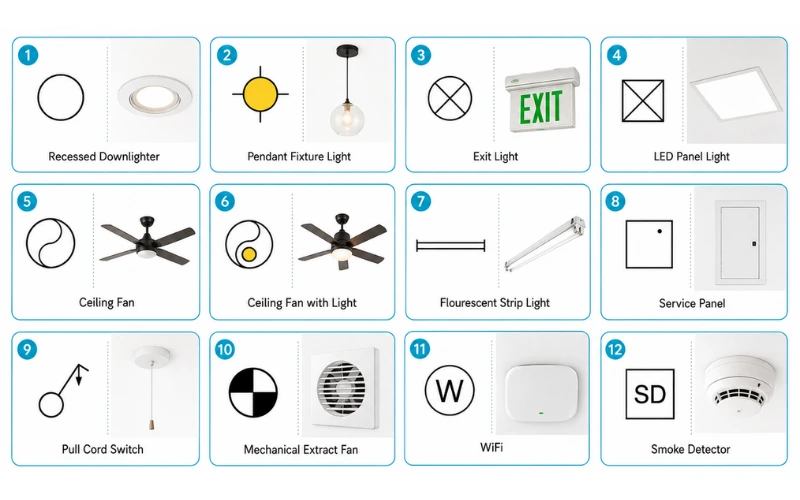
Reflected ceiling plans use symbols to show what is installed on the ceiling and where it is placed.
These symbols often represent lighting fixtures, switches, outlets, junction boxes, HVAC elements, and safety devices.
Lighting symbols show where ceiling lights, recessed lights, or ceiling fans with lights are located.
You may also see symbols for junction boxes and wiring, which show where electrical connections are made.
To learn more, see our complete guide to electrical symbols.
Common Mistakes to Avoid
Even experienced designers can run into issues when planning a ceiling layout. A few small oversights can affect both function and comfort.
Here are some common mistakes to watch for:
Not planning for how the room is used
Lighting should support what happens in the space. A kitchen, office, and bedroom all need different types of light. If fixtures are placed without considering function, you may end up with bright light where you do not need it and poor lighting where you do.
Adding too many fixtures
More lights do not always mean better lighting. When fixtures are packed too closely together, the result can feel harsh or overwhelming. Aim for even spacing and a balanced layout that creates consistent light across the room.
Forgetting about ceiling height
Ceiling height affects how light spreads. In rooms with higher ceilings, you may need stronger fixtures or larger pendants to reach the space below. In rooms with standard ceiling heights, recessed or flush-mounted lights often work better and keep the space feeling open.
Placing lights without checking the floor plan
Lighting should relate to what is happening below. Fixtures centered over tables, kitchen islands, or seating areas feel intentional. When they are off-center, the whole space can feel slightly “wrong,” even if you cannot immediately see why.
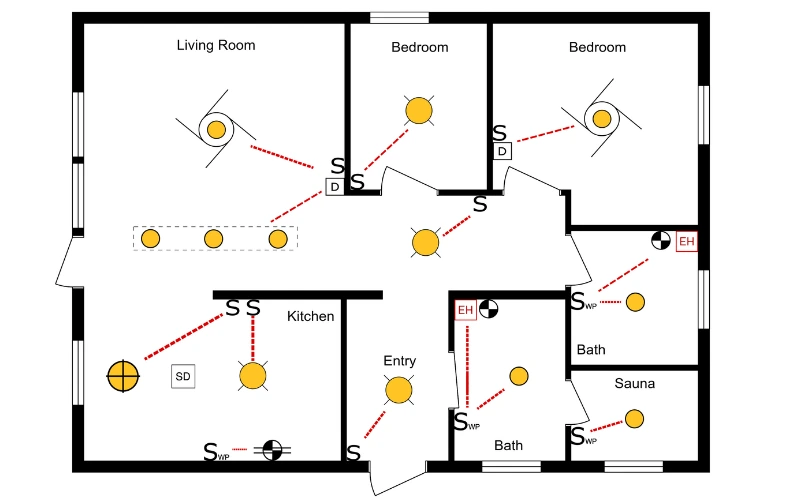
Skipping lighting zones and controls
Without dimmers or separate lighting zones, the room loses flexibility. Grouping lights by function, such as ambient, task, and accent lighting, gives you more control and helps the space adapt throughout the day.
Create Reflected Ceiling Plans with RoomSketcher
You don’t need complex CAD software to create a clear and organized reflected ceiling plan.
With RoomSketcher, you can start with your floor plan and plan lighting, ventilation, and other ceiling elements directly on your layout.
Adjust placements, refine the layout, and create a professional plan that’s easy to share with contractors, collaborators, or clients.
Related Articles
Complete Guide to Electrical Symbols and Abbreviations
What are electrical symbols, and what do they mean? Where are they placed on a floor plan, and what are the regulations for placing them? Here's everything you need to know about electrical plans.
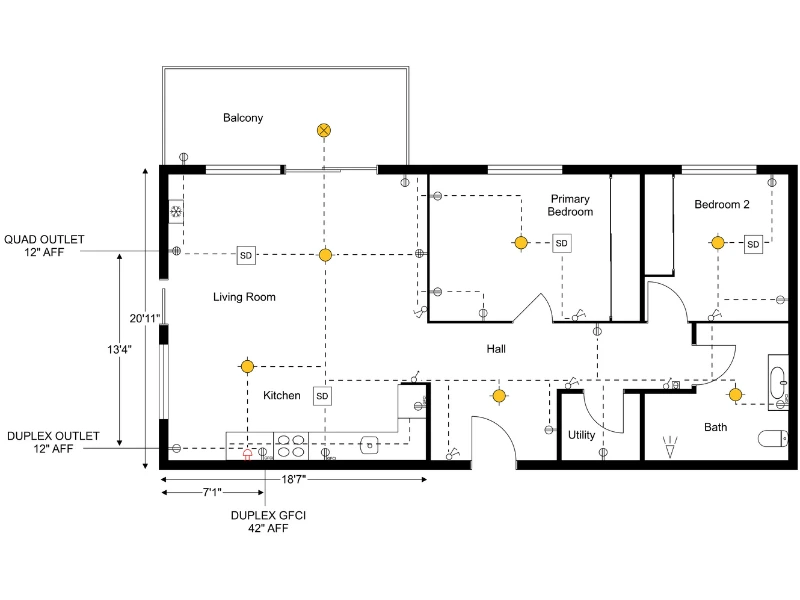
How to Draw an Electrical Plan with RoomSketcher
Learn how to draw an electrical plan step by step. This guide shows how to place lighting, outlets, and switches clearly on your floor plan so the layout is easy to understand and share.

Electrical Plan Examples to Kick-Start Your Project
Electrical plans show where outlets, switches, lighting, and other electrical elements should be placed within a space. In this article, you’ll find a collection of electrical plan examples for different rooms and building types, along with practical tips to help you plan your own layout.