How to Create Photorealistic Floor Plan Visuals with AI
Creating realistic renders used to require specialist software and training. Now, AI makes it possible for anyone to create lifelike visuals.
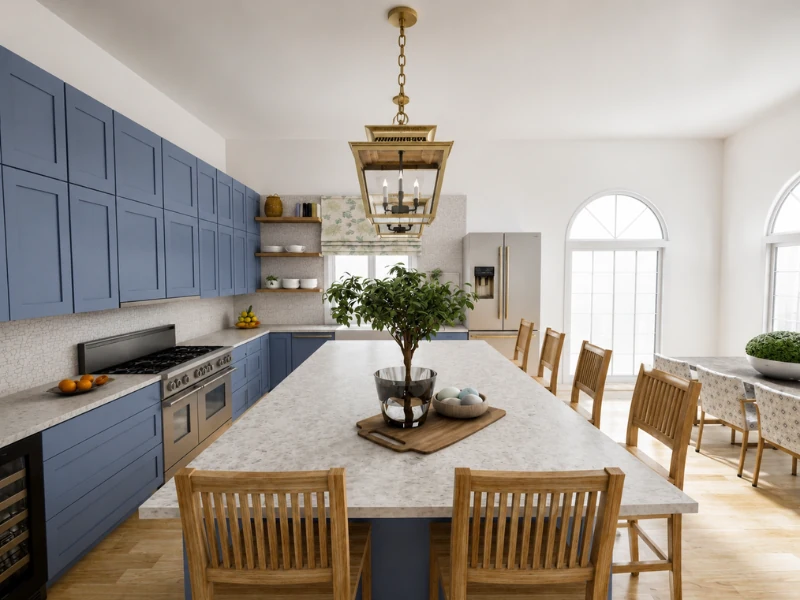

Floor plans are great for understanding layout, dimensions, and how rooms connect. But they can only tell you so much about what a finished space will actually look like.
With RoomSketcher, you can create or prepare your floor plan, choose exactly what you want to show, and then use AI Render to create a photorealistic version without moving between different design and rendering programs.
What Is Photorealistic AI Rendering?
Photorealistic AI rendering uses artificial intelligence to turn an existing 3D visualization into a more lifelike image.
The underlying design still provides the important information about the space, including the layout, furniture, materials, and camera angle. AI then adds a more realistic interpretation of details like lighting, textures, shadows, and finishes.
Traditionally, creating this type of image often involved specialist 3D rendering software. You might need to set up materials, lighting, cameras, and rendering settings manually before waiting for the final image to process.
AI rendering makes that final stage much more accessible. You can start with a design you have already created and generate a realistic version without needing the same level of rendering experience or a separate workflow.
How to Create Photorealistic Floor Plan Visuals
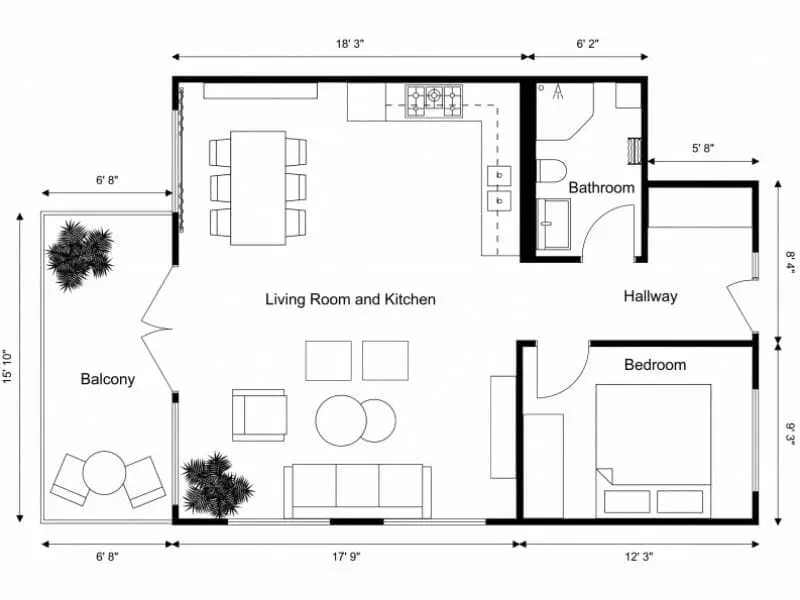
1. Create your floor plan
The quality of the finished visual starts with the floor plan behind it.
If you already have a floor plan, you can use that as your starting point. If not, you can create one in the RoomSketcher app.
Before thinking about rendering, make sure the important parts of the layout are in place. Check the walls, room sizes, doors, windows, and fixed installations so the project reflects the space you actually want to visualize.
You can then decide how much detail you want to add before creating the render.
For a simple concept image, you might only need the main fixtures and a few key pieces of furniture. If you already know exactly how you want the room to look, you can go much further and add furniture, flooring, wall colors, materials, appliances, and other design details.
How much you add depends on how much control you want over the finished image.
If the position of the sofa matters, add it before rendering. If you already know which flooring or wall color you want, include that too. The more of the design you establish first, the less the AI has to interpret on its own.
2. Choose the view
Think about what the finished image needs to communicate.
If you want to show the overall layout, an overhead or angled view can make it easier to see how rooms, furniture, and circulation work together.
If you want to show what the room might feel like in real life, an eye-level interior view is usually more effective.
With Live 3D, you can move through the project and test different viewpoints before creating an AI Render. Try different positions, adjust the angle, and check exactly which parts of the room will be visible.
This lets you find the view you want before generating the AI Render, rather than using renders to test different camera positions.
3. Make the floor plan photorealistic
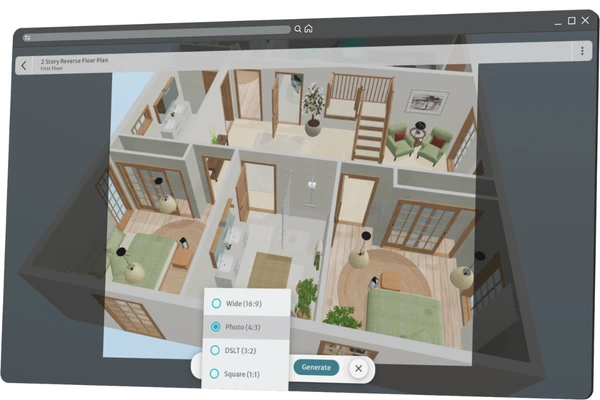
Once you’re happy with the layout, design, and view, you can create your AI Render.
AI Render is built into RoomSketcher, so there’s no need to export your project or use separate rendering software. You can create a photorealistic version directly from the design you’ve already made.
With AI Render, you can create lifelike interior images as well as 3D Floor Plans.
Create an interior image
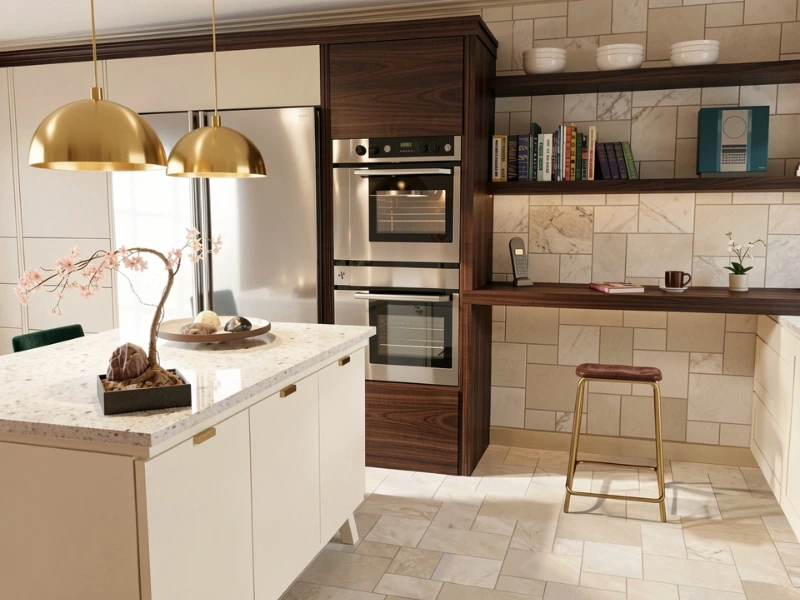
Choose an interior view when you want a closer look at the details of the space.
It can help show:
- Furniture and finishes
- Lighting and atmosphere
- How materials work together
- The scale of the room
- What it might feel like to be inside the space
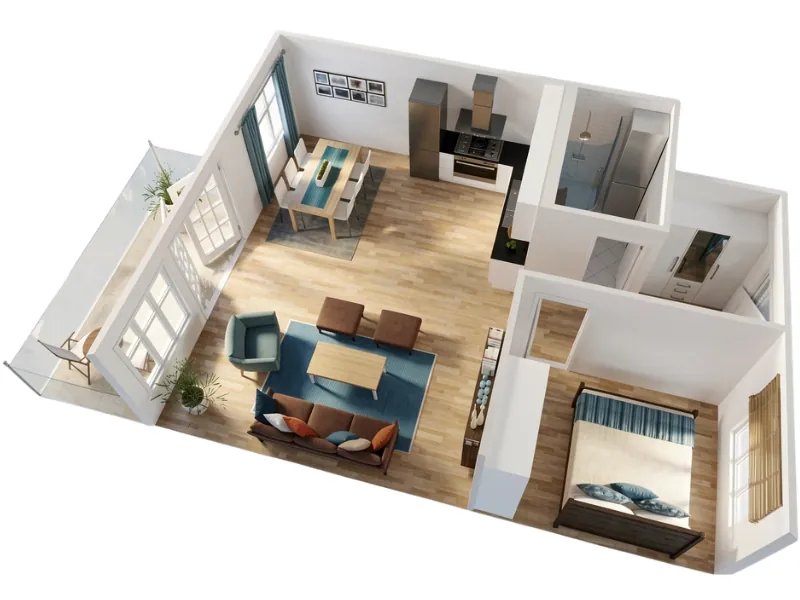
Create a 3D Floor Plan
You can also create a render directly from a top-down 3D Floor Plan.
Before rendering, you can choose the exact angle and rotation you want, whether that’s a straight top-down view or a more angled perspective.
This lets you control how much of the layout is visible and how the space is presented, while still keeping the overall floor plan easy to understand.
It can help show:
- The overall layout
- How rooms connect
- Furniture placement
- Materials and finishes
4. Refine and polish the result
AI Render also gives you room to experiment. Unlike AI tools that generate a new design from scratch, RoomSketcher always works from your existing project. Therefore, you can try different looks while keeping the original floor plan as your starting point.
For example, imagine your original project has light wood flooring, white walls, and a beige sofa. You might create an AI Render and then decide you want to see the same room with darker flooring, warmer lighting, and a green sofa.
If you do not like the result, your starting project is still there exactly as it was.
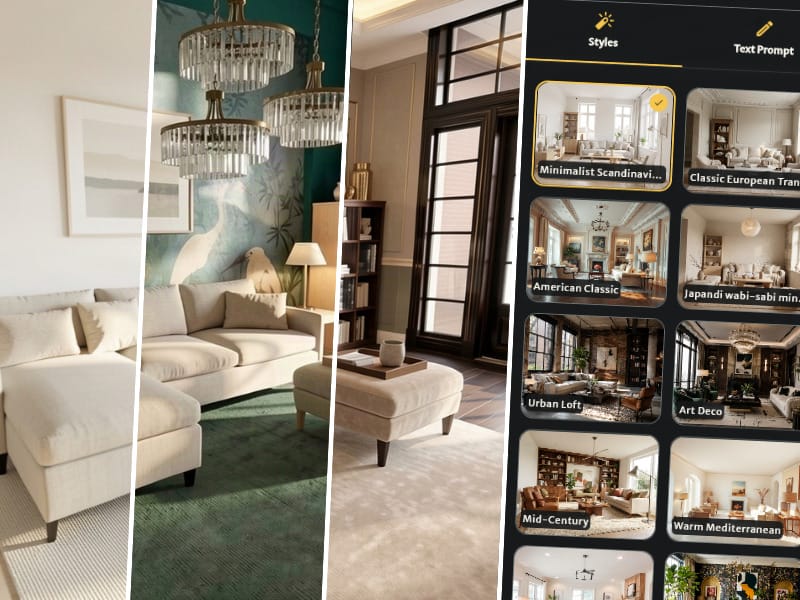
Try a different style
Styles make it easy to explore a different overall look.
You can take the same room and see how it works with another interior direction without manually changing every part of the project first.
This is useful when the layout is settled, but you are still exploring how you want the finished space to feel.
Make specific changes with prompts
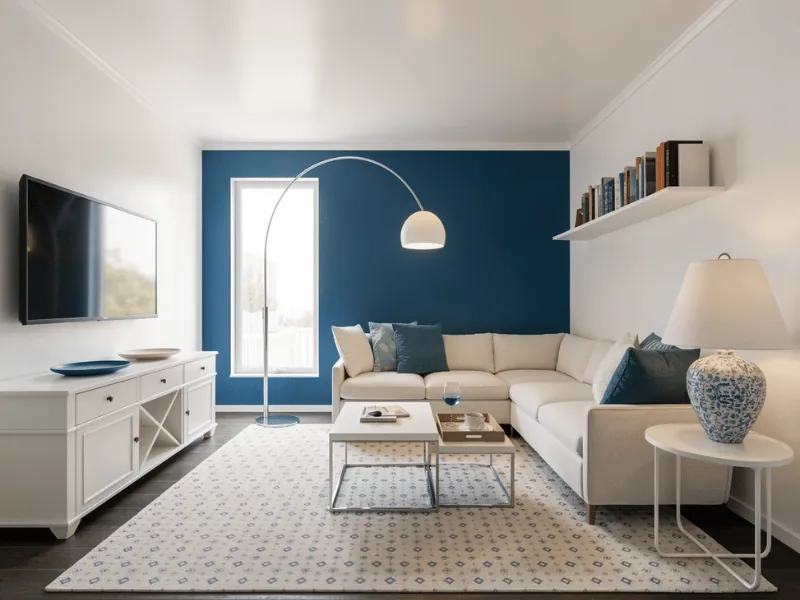
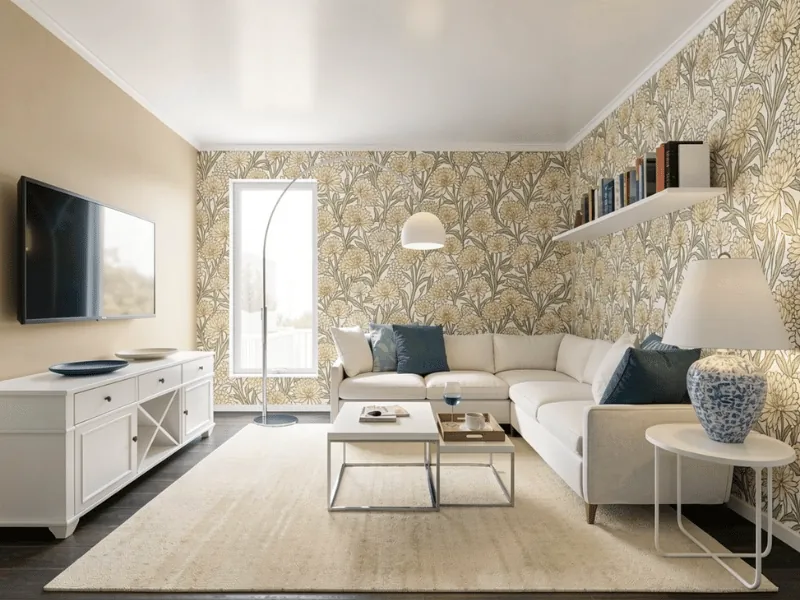
Text prompts give you more control over individual details.
You could ask AI Render to:
- Change the wall color
- Add curtains
- Replace the flooring
- Adjust the lighting
- Change a piece of furniture
- Try a different material or finish
For more examples, see our AI Render Prompt Guide and Inspiration
Use a reference image
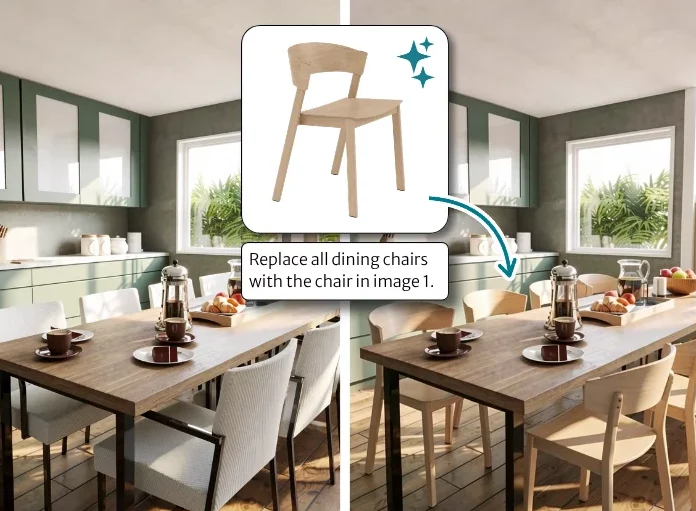
If you already have something specific in mind, you can also upload a reference image.
For example, you might have found a chair, flooring material, tile, or finish that you want to try in the room. Upload the image and explain where you would like it applied.
This can be particularly helpful when it is easier to show the AI what you mean than to describe it in words.
Who Uses Photorealistic Floor Plan Visuals?
Real estate professionals
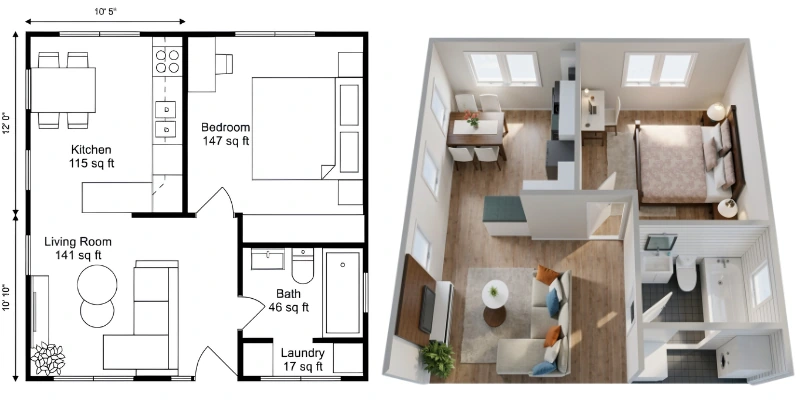
For real estate professionals, 3D Floor Plans can help buyers understand both the layout of a property and how the finished space could look.
They show how rooms connect, where furniture can fit, and how the overall layout works, while the added realism can make the design easier to visualize. This can be especially useful for new developments, pre-construction properties, and homes undergoing renovation.
Interior renders can also be used when you want to show individual rooms in more detail.
Interior designers
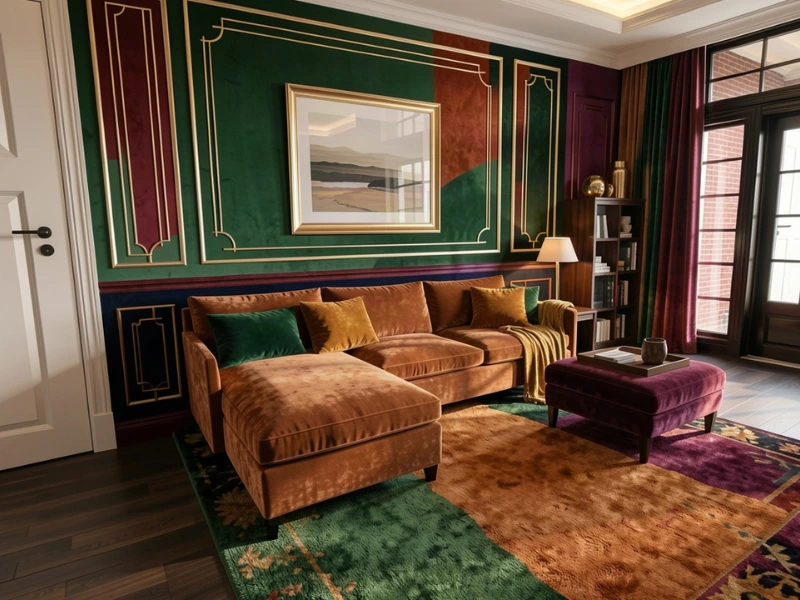
For interior designers and other design professionals, photorealistic visuals can make early concepts easier for clients to understand.
Instead of relying only on floor plans, material samples, or standard 3D views, you can show a more lifelike version of the proposed space.
Because different views and design directions can be generated from the same project, AI rendering can also make it easier to explore and present alternatives without rebuilding the design for every concept.
Contractors
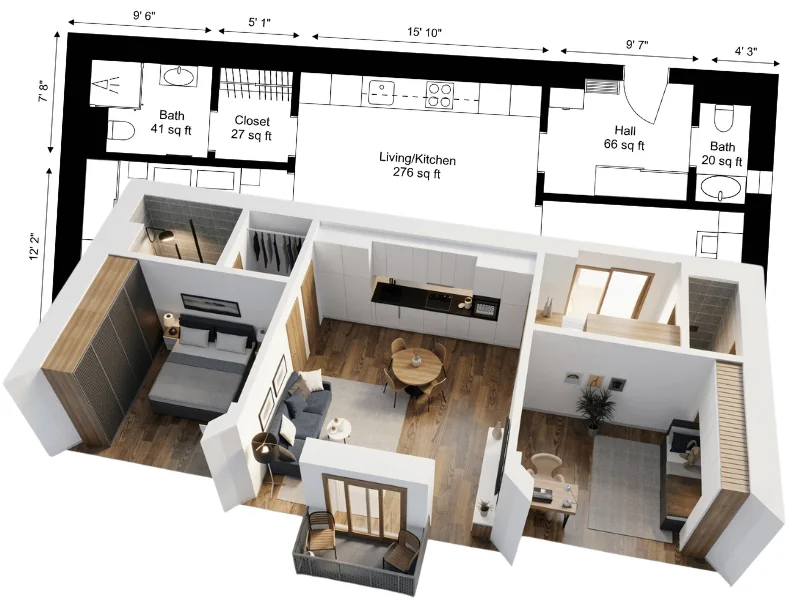
Contractors can use floor plans and photorealistic visuals to make design decisions easier to discuss with clients.
The floor plan helps finalize the layout, while realistic visuals can show how different finishes and furniture options could look in the completed space. This can be especially helpful when clients find it difficult to picture these choices from plans or samples alone.
Homeowners
When you are planning a renovation or new build, it can be difficult to judge a design from a floor plan alone.
A photorealistic visual can help you see how design decisions work together before you commit to them.
It can also be useful when considering a property purchase. An existing home may not match your taste, but a realistic visualization can make it easier to explore what the space could become with a different layout or interior style.
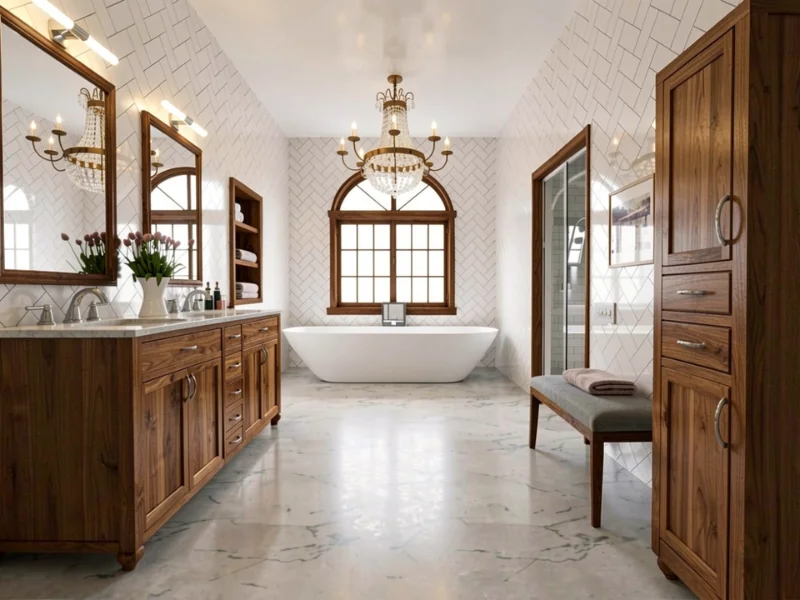
Create Realistic Visuals with RoomSketcher
You don’t need professional rendering skills or expensive third-party software to create photorealistic visuals from your floor plan.
With RoomSketcher, you can create the layout, furnish and decorate the space, choose the view you want, and generate a realistic AI Render in the same workflow.
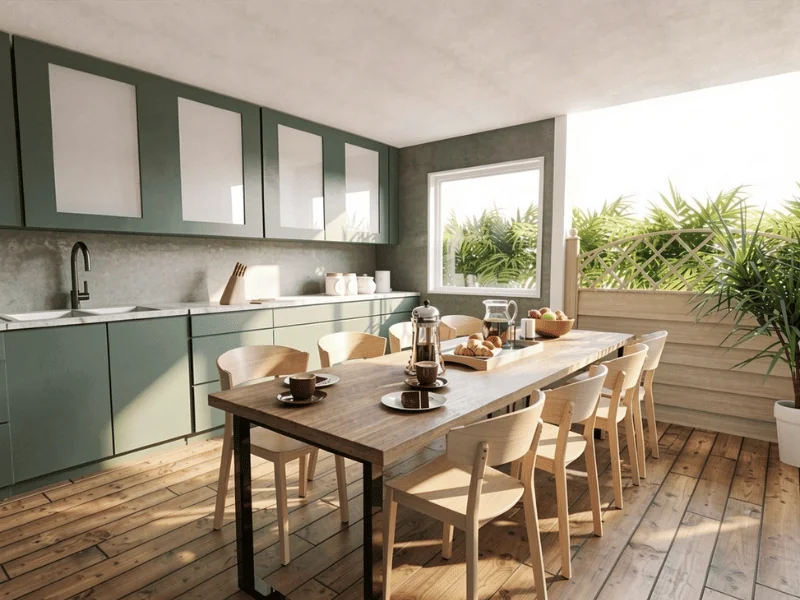
AI Render Prompt Guide and Inspiration
A good prompt gives AI Render a clear direction while leaving room to explore. In this guide, you’ll find prompt writing tips, practical examples, and ideas you can adapt to your own project.
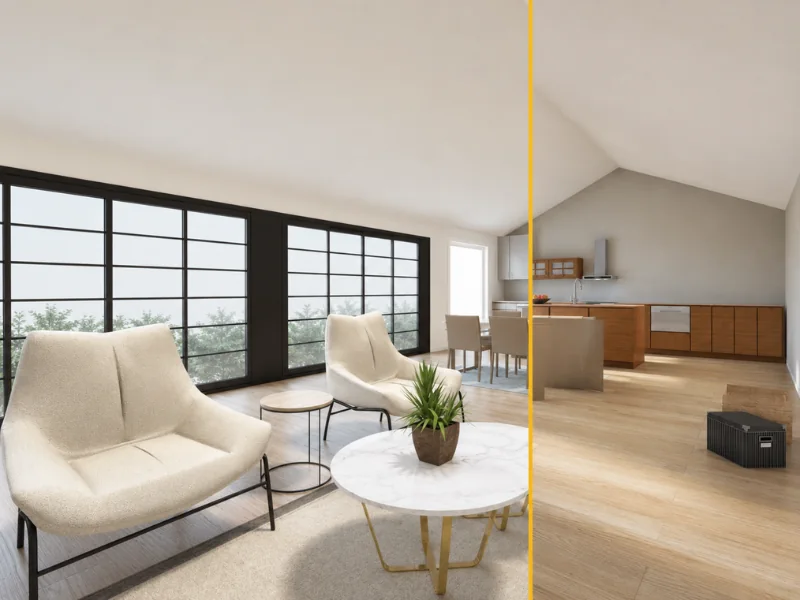
How to Use AI for Virtual Staging
Virtual staging is an innovative marketing approach that can help grab the attention of buyers and max out the property value.
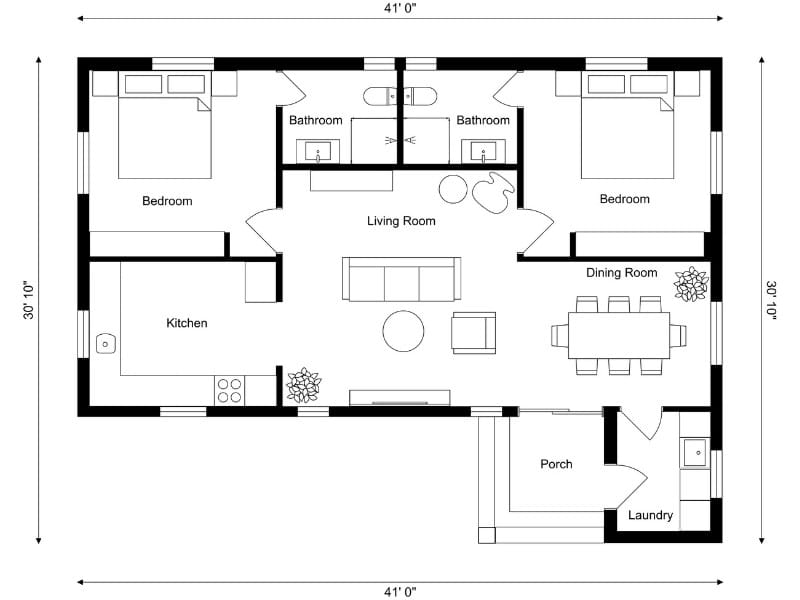
How to Create a Floor Plan (5 Easy Methods)
The easiest way to create a floor plan depends on your starting point. Sometimes you’re working with an empty space. Other times, you already have a sketch, PDF, or old floor plan you want to reuse. Learn about the five ways you can create a floor plan with RoomSketcher.